

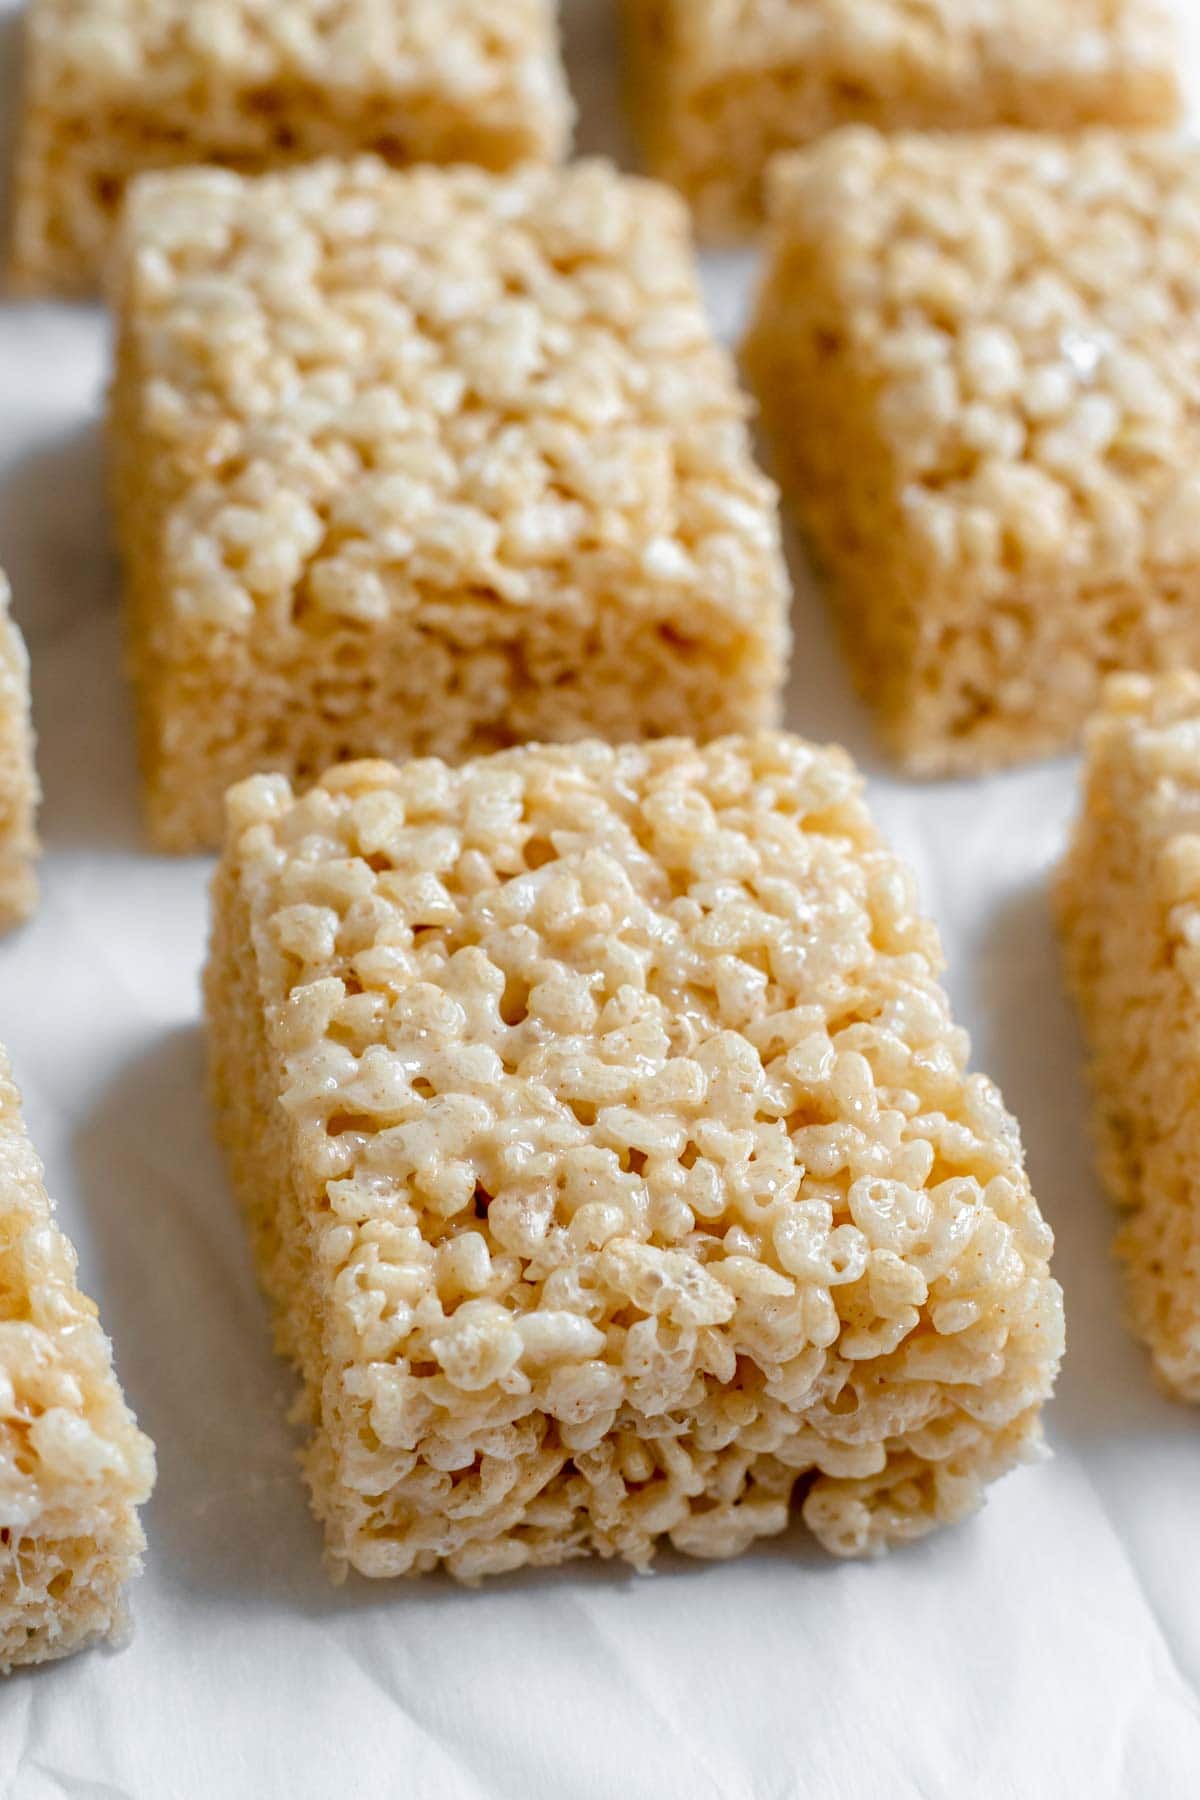
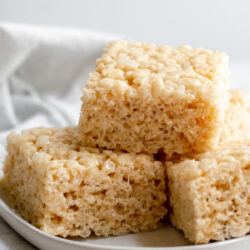
After you try these brown butter rice krispie treats, you'll never go back to the original recipe again! You only need five ingredients to bring these treats to life, and making brown butter is easier than you might expect.

Ever since I was little, rice krispie treats have been a staple in my household. They're so easy to whip up, and they're a guaranteed crowd pleaser. But the only thing better than rice krispie treats? Brown butter rice krispie treats.
And the inspiration behind this recipe actually comes from close to home! A few months ago, my husband and I had dinner at Poor Hendrix, a restaurant and bar near us in Atlanta, and they had brown butter rice krispie treats on their dessert menu. We split one and immediately fell in love, and I knew I had to make my own version.
The highlight of this recipe is definitely the brown butter, and if you've never made brown butter before, now's a great time to learn. It's actually pretty easy to make, and I've included in-depth instructions below walking you through how to do it.
Without further ado, let's make some brown butter rice krispie treats!
Jump to:
What You'll Need
The best part about this recipe is that you don't need many ingredients or tools to make it. Here's a quick overview of everything you'll need!
Ingredients
- Unsalted butter - I always recommend baking with unsalted butter, not salted. That way, you have more control over the total amount of salt in the recipe.
- Mini marshmallows - Mini is key here! If you use big marshmallows, it'll take a lot longer for them to melt, and they might burn on the bottom of the pan.
- Vanilla extract - Be sure to use pure vanilla extract (not imitation vanilla) to achieve the best flavor.
- Salt - I always recommend using kosher salt when baking.
- Rice Krispies - I personally like to use Rice Krispies when making this recipe, but any kind of crispy rice cereal will work.
Equipment
- Large pot - This recipe calls for a lot of marshmallows and cereal, so it's important to use a large pot. I like to use my Le Creuset dutch oven because it's so easy to clean.
- Heatproof spatula - To keep the marshmallows from sticking to the bottom of the pot, you'll want to stir them constantly with a heatproof spatula. I personally like to use silicone spatulas since they're so flexible and can last a long time. This silicone spatula set is a great option to invest in!
- 9 x 13-inch pan - Using a 9 x 13-inch pan, this recipe yields 12 large squares, but you can cut them whatever size you'd like.

How to Make This Recipe
Now that you've got all your tools and ingredients ready, let's make these rice krispie treats!
- Make the brown butter. Place the butter in a medium-sized pan and heat over medium heat. Stir constantly as the butter melts, and as the butter continues to melt, it will start to get foamy. After several minutes, the butter will turn golden brown. This happens pretty quickly, so keep an eye on it! Once the butter is a nice golden brown and smells nutty, take it off the heat and transfer it to a heatproof bowl to stop the cooking process.
- Melt marshmallows. After the brown butter is ready and has cooled slightly, measure out ½ cup of it, transfer it to a large pot, and stir in the marshmallows until fully melted. Remove the pot from the heat, then whisk in the vanilla extract and salt.
- Finish the treats off. Off the heat, pour the Rice Krispies in and stir until well combined, working quickly so that the mixture doesn't harden.
- Pour the mixture into a 9 x 13-inch pan. Press the mixture into the prepared pan. I like to use the butter wrapper to gently press the mixture into an even layer into the pan.
- Cool and serve. Let the treats cool for at least an hour before cutting and serving. Enjoy!
Tips to Make This Recipe
Want to know the secret to making perfect rice krispie treats? Here are some of my best tips that I've learned over the years:
- After pouring in the Rice Krispies, be sure to mix quickly. This step is crucial! Once you pour in the Rice Krispies, if you don't mix quickly enough, the melted marshmallows will start to solidify and won't distribute evenly throughout the mixture. Be sure to stir as quickly as possible and scrape the bottom of the pot well.
- Press the mixture into the pan using a butter wrapper. If you've made rice krispie treats before, you know just how sticky they are. Luckily, your butter wrapper is here to save the day! Use it to press the mixture into the pan to avoid getting your hands sticky.
- Let them cool for at least an hour before cutting into squares. If you try and cut these treats when they're still warm, you'll have a huge mess on your hands. It's best to let them cool for at least an hour before slicing.
Common Questions About This Recipe
These are some questions I frequently hear about this recipe. If you have a question that isn't answered below, feel free to leave it in the comments.
About an hour! I recommend letting your treats cool in the pan for at least an hour before cutting them into squares.
Before pouring the mixture into the pan, be sure to generously spray it with nonstick cooking spray or grease it with butter. Then, when you're ready to remove the rice krispie treats from the pan, you can gently run a knife around the edge of the pan, and they should pop right out.
Nope, you don't need to! You can let them cool and store them at room temperature. If you're in a rush, you can pop them in the fridge briefly to let them cool down, but it's not necessary.
How to Store & Freeze
To store: Cover and store leftover treats at room temperature for up to 3 days. When storing, place in layers between sheets of parchment or wax paper.
To freeze: While you can freeze these rice krispie treats, I don't recommend doing so because it can affect the texture. It's best to store these treats at room temperature and enjoy within 3 days.
Love this recipe? Please leave a star rating and review in the comments below! And don't forget to subscribe to The Baker's Almanac for even more baking recipes and tips.
Print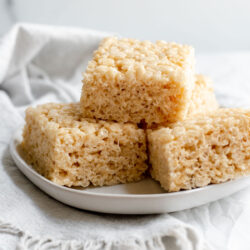
Brown Butter Rice Krispie Treats
- Total Time: 1 hour 15 minutes
- Yield: 12 large squares 1x
Description
After you try these brown butter rice krispie treats, you'll never go back to the original recipe again! You only need five ingredients to bring these treats to life, and making brown butter is easier than you might expect.
Ingredients
- ¾ cup (169.5g) unsalted butter
- 2 bags (20 oz) mini marshmallows
- ½ teaspoon vanilla extract
- ¼ teaspoon salt
- 9 cups (285g) Rice Krispies or crispy rice cereal
Instructions
- Generously spray a 9 x 13-inch baking pan with nonstick cooking spray or grease with butter, then set aside.
- Place the butter in a medium-sized pan and heat over medium heat. (Set the butter wrapper aside — we'll use it later!)
- Stir constantly as the butter melts, and as the butter continues to melt, it will start to get foamy. After several minutes, the butter will turn golden brown. This happens pretty quickly, so keep an eye on it! Once the butter is a nice golden brown and smells nutty, take it off the heat and transfer it to a heatproof bowl to stop the cooking process.
- After the brown butter is ready and has cooled slightly, measure out ½ cup of it (you can save or discard the rest) and transfer that ½ cup of the brown butter to a large pot and stir in the marshmallows until fully melted. Remove the pot from the heat, then whisk in the vanilla extract and salt.
- Working quickly with the pot still off the heat, add in the Rice Krispies and stir well to combine, making sure to scrape the bottom well.
- Pour the mixture into the prepared pan, then use the butter wrapper to lightly press it down until you have an even layer.
- Let the treats cool for at least an hour before cutting and serving. Enjoy!
- Cover and store leftover treats at room temperature for up to 3 days. When storing, place in layers between sheets of parchment or wax paper.


Notes
- Yield: Using a 9 x 13-inch pan, this recipe yields 12 large rice krispie treats, but you can cut them whatever size you'd like.
- Inspiration: Recipe adapted from Sally's Baking Addiction.
- Prep Time: 5 minutes
- Cool Time: 60 minutes
- Cook Time: 10 minutes
- Category: Dessert
- Method: Sauté
- Cuisine: American
This was fantastic live the vanilla and butter paper hack!
I'm so glad you enjoyed them, Pam! Isn't that butter paper hack so useful?!
These were so yummy!! It took me two tries to get the brown butter right, but once I did, the recipe came out great. Will definitely be making these again and again.
I'm so happy to hear you enjoyed the recipe, Amelia! Brown butter can be tricky to figure out at first, but soon it becomes really easy to make. Thanks for taking the time to leave a review! 😊