

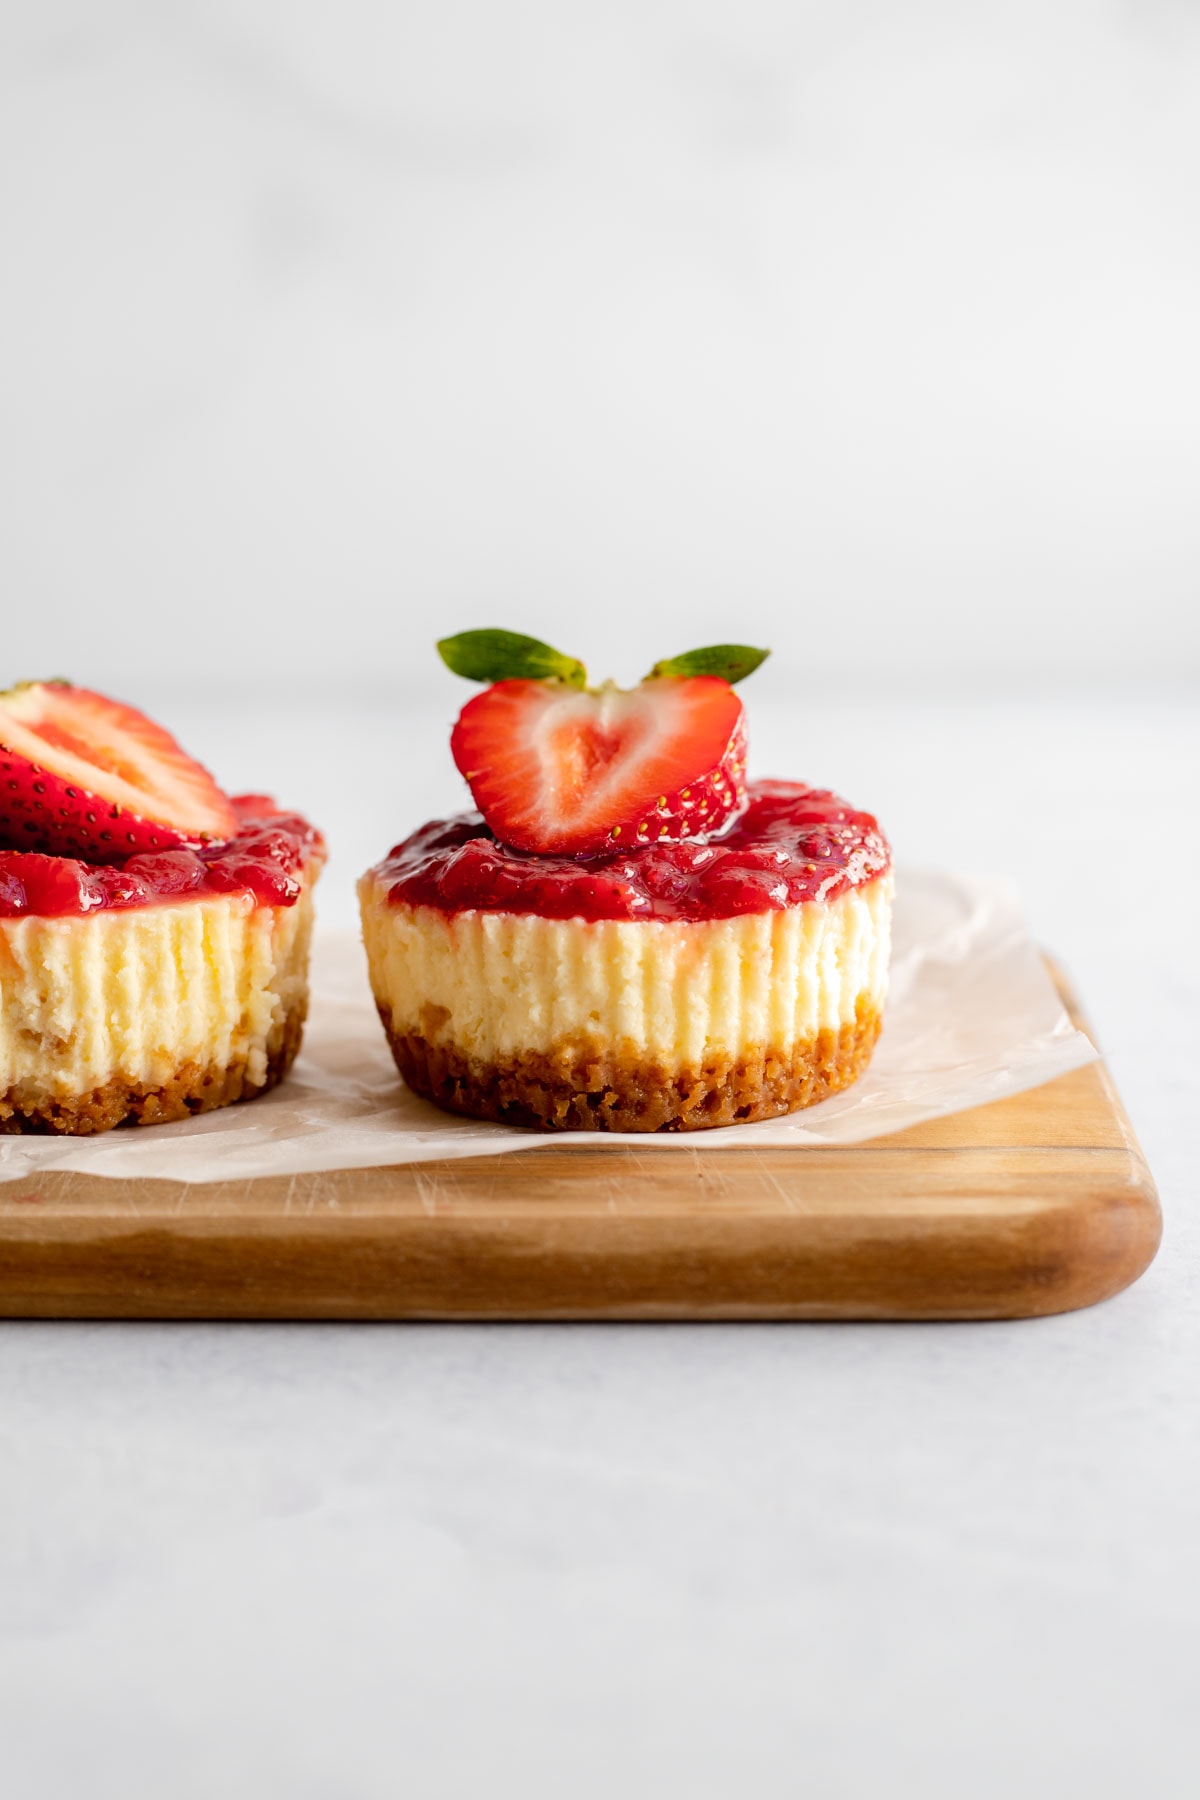
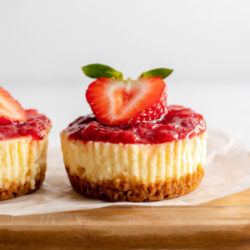
Baked in a standard muffin pan, these mini strawberry cheesecakes are delicious handheld versions of a classic cheesecake. You start by making a homemade Graham Cracker crust, spoon in a luscious cheesecake filling, then top everything off with a fresh strawberry compote.

Look at these mini cheesecakes! All the delicious flavor of a strawberry cheesecake wrapped up in these cute, handheld beauties. And the best part? Since they're already portioned out, there's no cutting required.
Everything in this recipe is made from scratch, from the Graham Cracker crust to the fresh, juicy strawberry compote on top. These cheesecakes are so decadent that it's hard to stop after eating just one.
Jump to:
What You'll Need
Here's a quick overview of some of the key ingredients and tools needed to make these mini cheesecakes. The full recipe can be found at the bottom of the post!
Ingredients
- Graham Crackers - We'll use Graham Crackers to form the base of the crust for the cheesecakes. Any brand you can find at the store should work.
- Cream cheese - Be sure to use brick-style cream cheese when making this recipe. Let the cream cheese soften to room temperature before adding it to the recipe to avoid any lumps in the cheesecake batter.
- Sour cream - I love adding sour cream to my cheesecake batter to deepen the flavor and add more moisture to the batter.
- Strawberries - Fresh or frozen strawberries work great here. You'll want to finely chop them before preparing the strawberry compote.
Equipment
- Muffin pan - This recipe yields 12 mini cheesecakes, so a 12-cup muffin pan works great here.
- Cupcake liners - I like to line my pan with cupcake liners before baking to make it easier to remove the mini cheesecakes once they're baked.
- Food processor - It's really helpful to use a food processor when making the crust for these mini cheesecakes. But if you don't have one, you can place the crackers in a Ziplock bag and smash them until fine crumbs form.
- Mixer - Personally, I like to use a stand mixer fitted with a paddle attachment when making the cheesecake batter. However, an electric hand mixer also works great.
- Medium saucepan - To make the strawberry compote for the cheesecakes, you'll want to cook all the ingredients in a medium saucepan. The compote will bubble up as it cooks, so it's important to use a saucepan with higher sides.
How to Make This Recipe
Got everything ready? Let me show you how to make this recipe from start to finish!
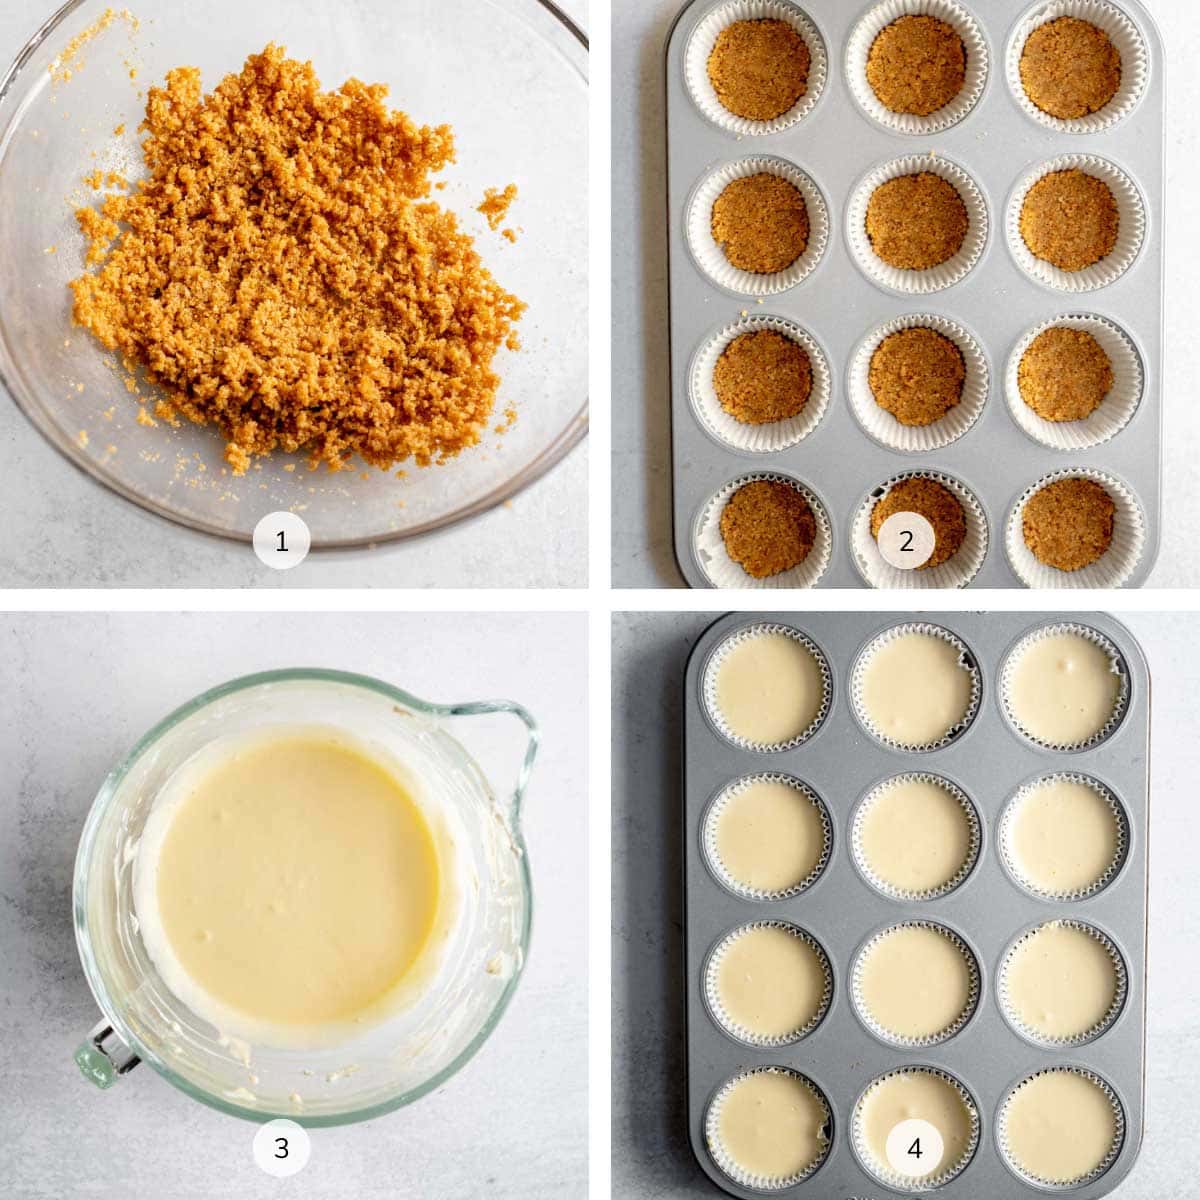
Start by making the Graham Cracker crust. Pulse the Graham Crackers in a food processor until fine crumbs form. Then, in a small bowl, stir together the Graham Cracker crumbs, melted butter, turbinado sugar, and salt. Portion out 2 teaspoons of the Graham Cracker crumb mixture into each muffin liner, pressing firmly down until the bottom of each liner is evenly covered. Bake the crust at 350°F for 7-8 minutes, or until lightly browned and just starting to set. The crust will firm up more once out of the oven. Once baked, remove the crust from the oven and let cool to room temperature. (Image 1 and Image 2)
Make the cheesecake filling. In a stand mixer fitted with a paddle attachment (or a large mixing bowl with a handheld mixer), cream together the room temperature cream cheese, granulated sugar, vanilla extract, sour cream, and lemon juice until the mixture is homogenous. Add in the eggs one at at a time, then mix in the salt until the mixture is smooth and creamy, being careful not to overmix. (Image 3)
Portion out the cheesecakes and bake! Pour the cheesecake filling over the crust, filling each cup until it's ¾ full. Release any air bubbles by tapping the pan on a flat surface. Bake the cheesecakes at 280°F for about 15 minutes, or until the edges of the cheesecakes are set, but the middle is still jiggly. The cheesecakes will firm up considerably as they cool. Once baked, turn the oven off, but keep the oven door closed for 5 minutes. After the 5 minutes are up, oven the oven door halfway, and let the cheesecake cool to room temperature for 1 hour. After the cheesecake is room temperature, wrap the muffin pan with plastic wrap, and place the pan in the fridge to cool completely for at least 5 hours. (Image 4)
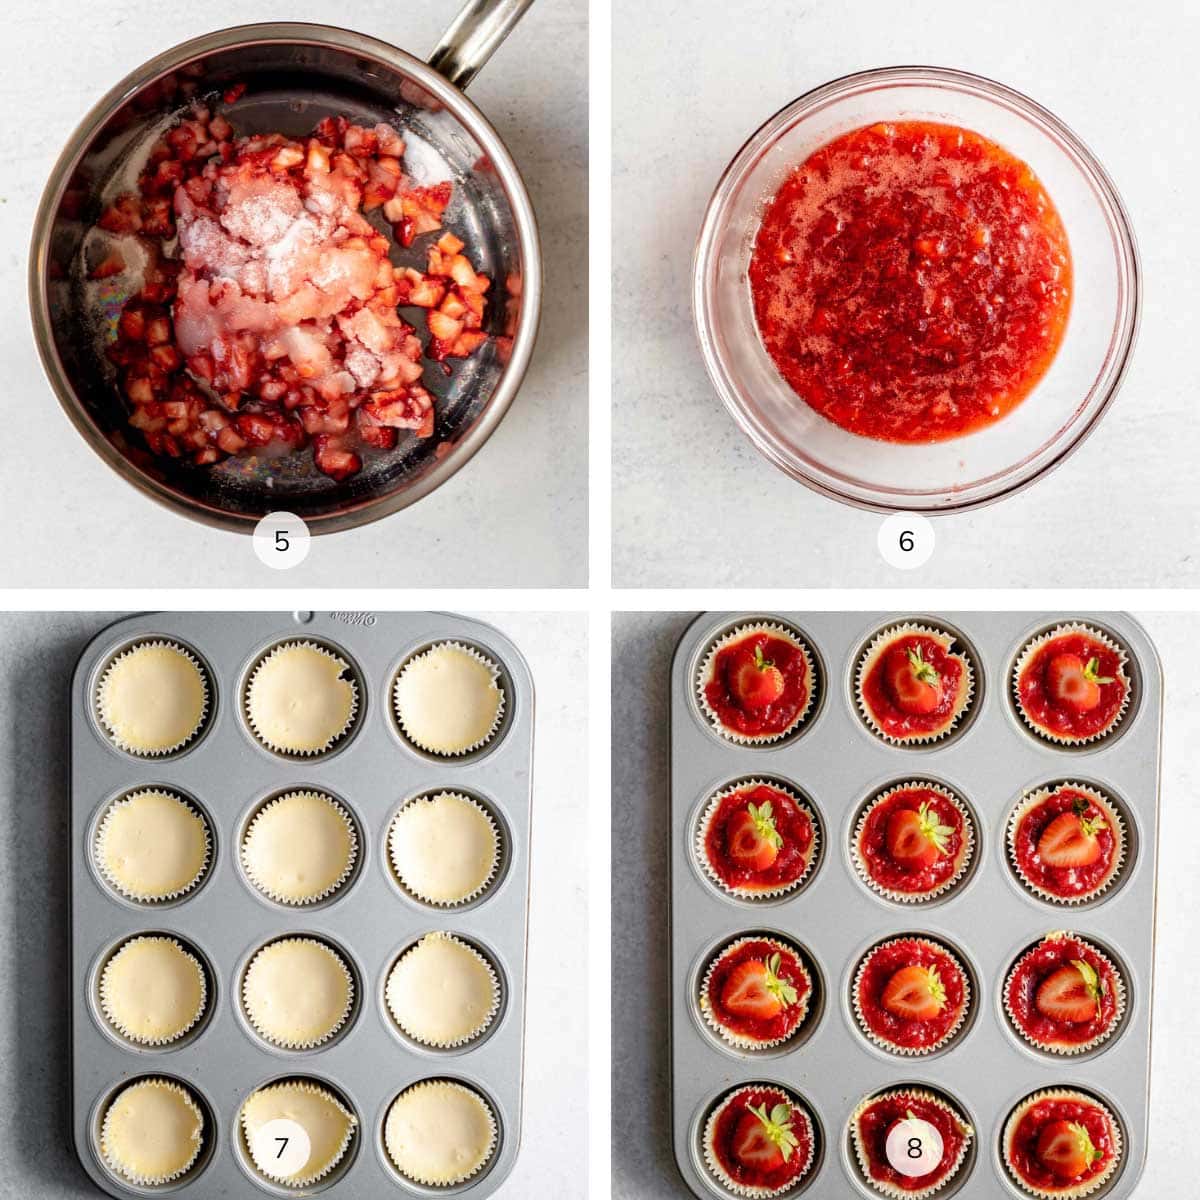
Make the strawberry compote. In a medium saucepan, add the chopped strawberries, granulated sugar, lemon juice, and salt, and stir to combine. Heat mixture over high heat, stirring constantly with a heatproof spatula. Once the mixture starts to bubble up, reduce the heat to low. Cook the mixture for 5-10 minutes, stirring constantly, until the compote is thick and viscous. Once ready, remove the compote from the heat and transfer it to a heatproof container. Let the compote cool completely at room temperature, then transfer it to the fridge. (Image 5 and Image 6)
Finish assembling the cheesecakes and serve. Top the chilled mini cheesecakes each with a tablespoon of the strawberry compote and serve. (Image 7 and Image 8)
Tips to Perfect This Recipe
- Make sure your cream cheese is absolutely room temperature before adding it to the recipe. Otherwise, you'll likely get clumps in the cheesecake batter. I like to take my cream cheese out of the fridge an hour or two before baking to let it soften. I don't recommend microwaving your cream cheese as it has a tendency to melt very quickly.
- Don’t open the oven door before the mini cheesecakes are fully baked! Drastic changes in the temperature of the cheesecakes while baking can cause them to collapse or crack.
- Let the cheesecakes cool in the fridge for at least 5 hours to let them set properly. This lets the cheesecakes firm up, and it also gives them a beautifully soft and creamy texture.
Common Questions About This Recipe
These are some questions I frequently hear about this recipe. If you have a question that isn't answered below, feel free to leave it in the comments.
These mini cheesecakes are baked in a standard 12-count muffin pan. If you line your pan with cupcake liners, it's really easy to just pop the cheesecakes out of the pan after they've finished baking. The liners will keep the cheesecakes from sticking to the pan.
Yes! I oftentimes like to make these mini cheesecakes over several days since they do take some time to make. You can bake the graham cracker crust and store it at room temperature for up to 1 week. Then, you can bake the mini cheesecakes and top with the strawberry compote. Store any leftover cheesecakes in the fridge, and consume within 5 days.
These mini cheesecakes should stay fresh in the fridge for about 5 days. Be sure to tightly wrap them with plastic wrap, or store them in an airtight container.

How to Store & Freeze
To store: You can store these mini cheesecakes in an airtight container in the fridge for up to 5 days.
To freeze: Let the cheesecakes chill completely, then wrap tightly with plastic wrap or place in an airtight container. Freeze the cheesecakes (without the strawberry compote on top) for up to 1 month, then let the cheesecakes thaw at room temperature for about 2-4 hours, or in the refrigerator overnight. Once thawed, spoon the strawberry compote on top and serve.
Love this recipe? Please leave a star rating and review in the comments below! And don't forget to subscribe to The Baker's Almanac for even more baking recipes and tips.
Print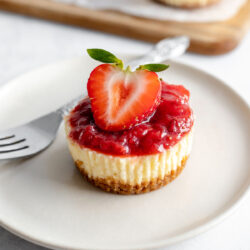
Mini Strawberry Cheesecakes
- Total Time: 7 hours 5 minutes
- Yield: 12 mini cheesecakes 1x
Description
Baked in a standard muffin pan, these mini strawberry cheesecakes are delicious handheld versions of a classic cheesecake. You start by making a homemade Graham Cracker crust, spoon in a luscious cheesecake filling, then top everything off with a fresh strawberry compote.
Ingredients
Graham Cracker Crust:
- 1 cup (100g) Graham Crackers
- 4 tablespoons (56.5) unsalted butter, melted
- 1 tablespoon turbinado sugar
- Pinch of salt
Cheesecake Filling:
- 12 oz (340g) brick-style cream cheese, room temperature
- ½ cup (100g) granulated sugar
- 1 teaspoon vanilla extract
- ⅓ cup (76g) sour cream
- ½ teaspoon lemon juice
- 2 large eggs (100g)
- ½ teaspoon salt
Strawberry Compote:
- 1 ¼ cups (209g) fresh or frozen strawberries, finely chopped
- ⅓ cup (67g) granulated sugar
- ½ teaspoon lemon juice
- Pinch of salt
Instructions
- Preheat the oven to 350°F (177°C). Line a 12-count muffin pan with liners, and set aside.
- Make the Graham Cracker crust: Pulse the Graham Crackers in a food processor until fine crumbs form. If you don't have a food processor, you can place the crackers in a Ziplock bag and smash them until fine crumbs form. Then, in a small bowl, stir together the Graham Cracker crumbs, melted butter, turbinado sugar, and salt.
- Portion out 2 teaspoons of the Graham Cracker crumb mixture into each muffin liner, pressing firmly down until the bottom of each liner is evenly covered.
- Bake the crust in the preheated oven for 7-8 minutes, or until lightly browned and just starting to set. The crust will firm up more once out of the oven. Once baked, remove the crust from the oven and let cool to room temperature, then lower the oven temperature to 280°F (138°C).
- Prepare the cheesecake filling: In a stand mixer fitted with a paddle attachment (or a large mixing bowl with a handheld mixer), cream together the room temperature cream cheese, granulated sugar, vanilla extract, sour cream, and lemon juice until the mixture is homogenous. Add in the eggs one at at a time, then mix in the salt until the mixture is smooth and creamy, being careful not to overmix.
- Pour the cheesecake filling over the crust, filling each cup until it's ¾ full. Release any air bubbles by tapping the pan on a flat surface.
- Bake the cheesecakes at 280°F for about 15 minutes, or until the edges of the cheesecakes are set, but the middle is still jiggly. The cheesecakes will firm up considerably as they cool. Once baked, turn the oven off, but keep the oven door closed for 5 minutes.
- After the 5 minutes are up, oven the oven door halfway, and let the cheesecake cool to room temperature for 1 hour.
- After the cheesecake is room temperature, wrap the muffin pan with plastic wrap, and place the pan in the fridge to cool completely for at least 5 hours.
- Make the strawberry compote: In a medium saucepan, add the chopped strawberries, granulated sugar, lemon juice, and salt, and stir to combine. Heat mixture over high heat, stirring constantly with a heatproof spatula. Once the mixture starts to bubble up, reduce the heat to low. Cook the mixture for 5-10 minutes, stirring constantly, until the compote is thick and viscous. To test if the compote is ready, I like to run my spatula along the bottom of the saucepan in a straight line. If it takes more than a second to fill back in, the compote is usually ready. I like to err on the side of caution and take the compote off too early — if it's not set enough, you can always return it back to the heat.
- Once ready, remove the compote from the heat and transfer it to a heatproof container. Let the compote cool completely at room temperature, then transfer it to the fridge.
- Top the chilled mini cheesecakes each with a tablespoon of the strawberry compote and serve. For presentation, you can also top each with a fresh strawberry slice. Enjoy!
Notes
- Strawberries: Both fresh and frozen strawberries work well for this recipe. If you're using frozen strawberries, you don't need to worry about thawing them first before making the strawberry compote.
- Storage: Stored in an airtight container, these mini cheesecakes will stay fresh in the fridge for up to 5 days. You can also freeze the baked cheesecakes (without the compote on top) for up to 1 month. Just let them thaw before topping with the strawberry compote and serving.
- Inspiration: Recipe adapted from Rich and Delish.
- Prep Time: 30 minutes
- Cooling & Chilling Time: 6 hours 5 minutes
- Cook Time: 30 minutes
- Category: Dessert
- Method: Bake
- Cuisine: American
Cheesecake was undercooked. Baking temperature was way too low for too short of a bake time. Even after sitting for over an hour, the center was still pudding-like. The batter and crust are also way too salty, couldn’t tell if it was supposed to be a sweet or savory treat.
I'm so sorry to hear the recipe didn't work out for you, Yaya. I'll take a look at the recipe again and see if any adjustments need to be made. Thanks so much for taking time to leave a review with your notes — I really appreciate it.
I made these for my daughters’ birthday party. They were a huge hit! I had to double the recipe and ended up not having enough graham crackers for the crust, so I added a few store bought ginger snaps and it added a nice bit of spice. I’ll definitely bake these again!
I love the idea of adding ginger snaps to the crust, and I'm so glad everyone enjoyed the mini cheesecakes. Thanks so much for taking the time to leave a review!
Is there a way to use the mini cupcake pans? Or are they too small then? If so, any adjustments?
Hi, Mary! I haven't personally tried making this recipe using mini cupcake pans, but I think it would work well. I would recommend putting a little less of the Graham Cracker crumb mixture in the bottom of each cup and filling each cup 3/4 of the way full with the cheesecake batter. I would also recommend baking them for about 10 minutes to start, then check on them every few minutes until finished baking. I hope that helps! Let me know how they turn out.