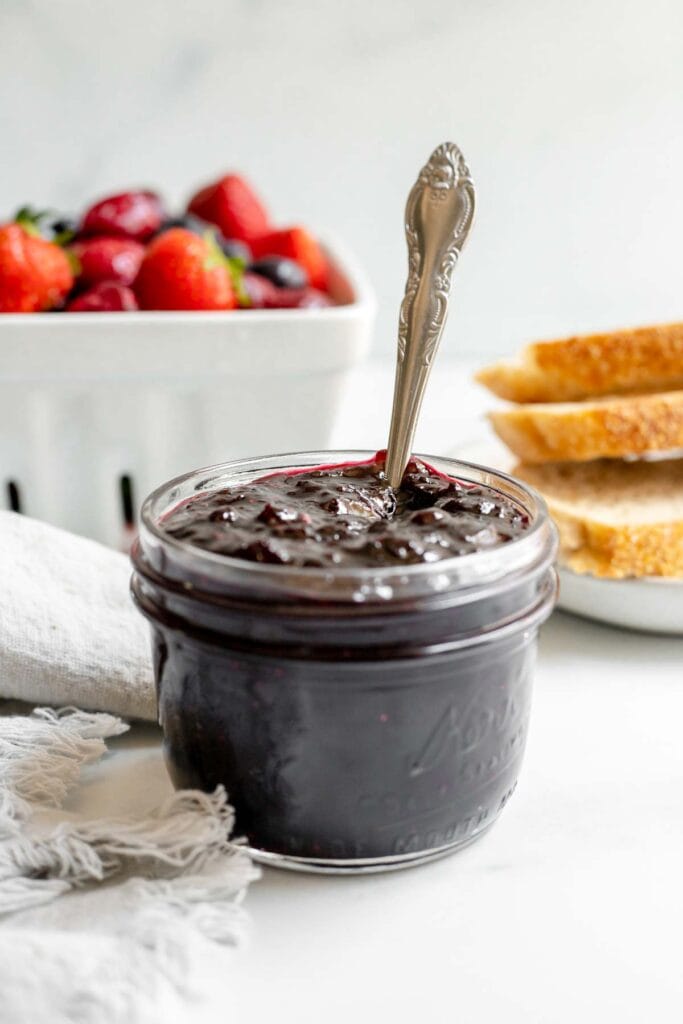
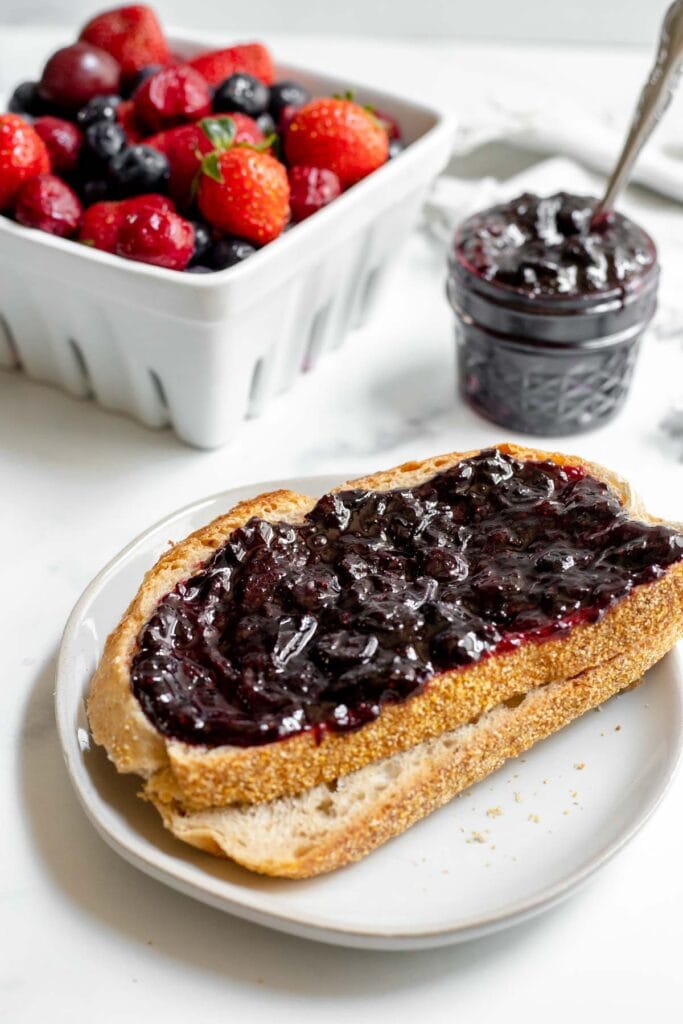
This cherry berry jam is packed full of flavor, and it's so easy to make! You can use fresh or frozen fruit to make it, and it comes together in no time.
I've been making this jam on repeat for the last few months, and I just knew I had to share it on the blog.
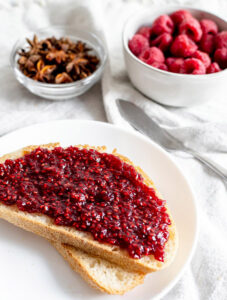
I originally whipped it up for a homemade charcuterie night with one of my friends, and to be honest, it was by far my fave part of the entire board. Spread some brie cheese on a cracker, then pile on a spoonful of this jam, and you've officially reached food heaven.
But don't just take my word for it — try making this jam for yourself, and let me know what you think!
Jump to:
What You'll Need
Here's a quick overview of some of the ingredients and tools needed to make this jam. The full recipe can be found at the bottom of the post!
Ingredients
- Cherries and berries - I used this Cherries and Berries Frozen Blend from Target to make this recipe, and it has a mix of cherries, blueberries, and sliced strawberries. However, feel free to use any blend of cherries and berries that you'd like! Just be sure to pit the cherries and slice the strawberries first.
- Granulated sugar - Sugar helps jams set when cooking, and it also acts as a preservative, so be sure to use the full amount when making this recipe.
- Lemon juice - Since jam requires so much sugar, it's important to add a bit of lemon juice to cut the sweetness.
- Kosher salt - Last but not least, don't forget a pinch of salt!
Equipment
- Medium saucepan - To make this recipe, you'll want to cook all the ingredients in a medium saucepan. The jam will bubble up as it cooks, so it's important to use a saucepan with higher sides.
- Heatproof spatula - To keep the jam from sticking to the bottom of the pan, it's best to constantly stir it using a heatproof spatula. I personally like to use silicone spatulas when making jam since they're so flexible and can last a long time.
- Potato masher - For a smoother consistency of jam, I like to mash the mixture with a potato masher as it cooks. Alternatively, you can use an immersion blender to do this.
How to Make This Jam
Now that you've got your ingredients ready, let's make some jam! Here's how it comes together:
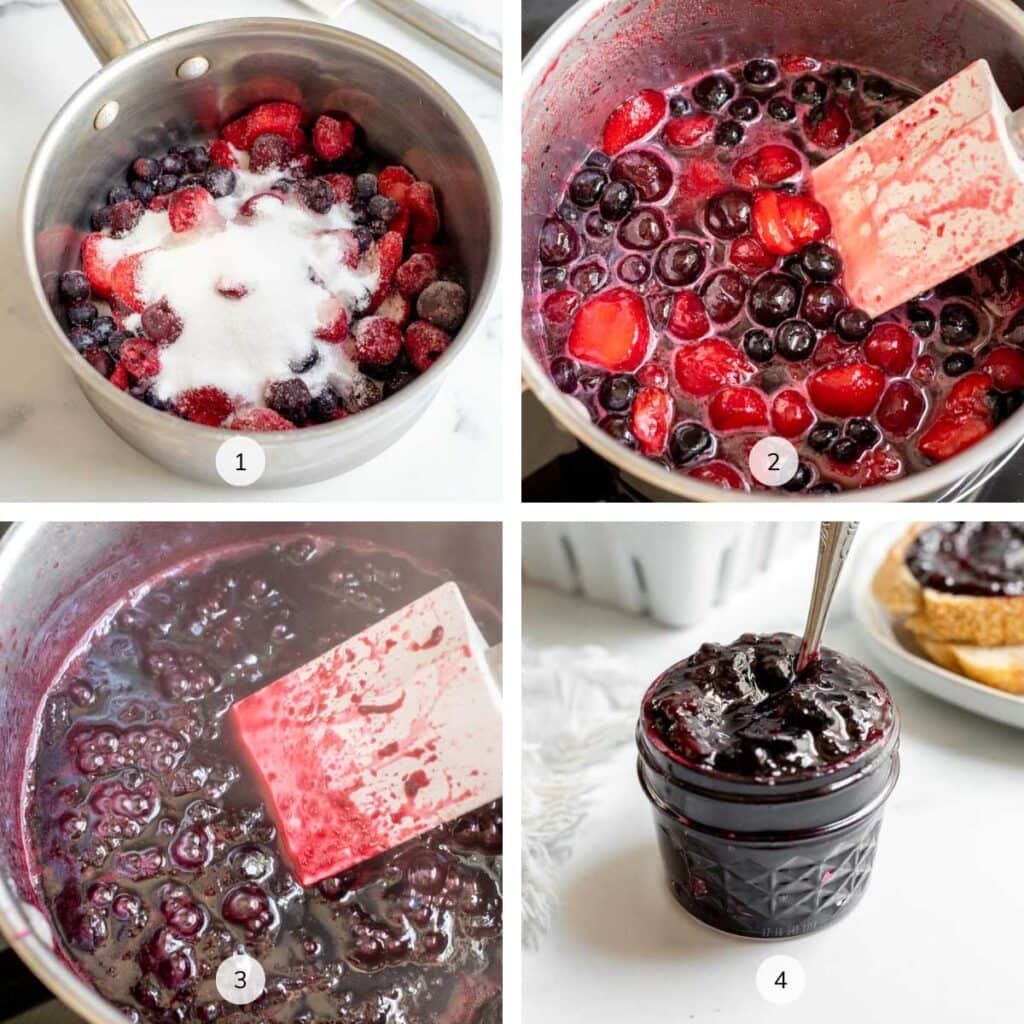
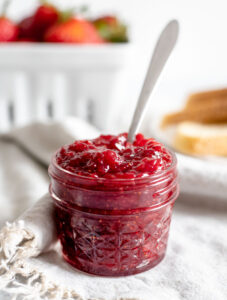
1. Combine all the ingredients in a medium saucepan. Stir everything together, then heat the mixture over high heat and stir constantly with a heatproof spatula. As the mixture starts to bubble up, reduce the heat to medium-low. If you want a smoother jam, you can also mash the mixture with a potato masher until you reach the desired consistency. (Image 1 and Image 2)
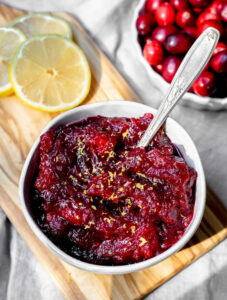
2. Cook the jam until it is thick and viscous. The cooking time will depend on your stove and heat, but this process usually takes me 10-15 minutes. To test if the jam is ready, I usually like to run my spatula along the bottom of the saucepan in a straight line. If it takes more than a second for the line to fill back up, the jam is ready to come off the heat. (Image 3)
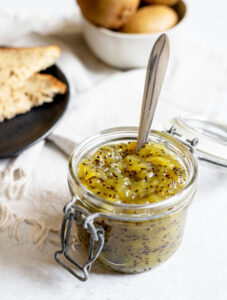
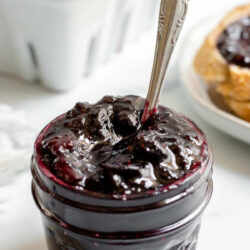
3. Remove the jam from the heat and transfer it to a heatproof container. Let it cool completely at room temperature, then store in the fridge for up to a month. (Image 4)
Tips to Make Perfect Jam
Here are a few tips to keep in mind when making this recipe:
- While the jam is cooking, stir frequently with a heatproof spatula. As the jam cooks, it can easily start to burn on the bottom of the saucepan. Be sure to stir the jam frequently to help distribute it evenly throughout the saucepan and prevent any burning.
- Make this jam in small amounts. When it comes to making jam, I don't recommend doubling or tripling the recipe. If you try and make too much jam at once, it's easy for the fruit to overcook. If you want to increase the amount of jam, I'd recommend making several batches of this recipe.
Common Questions About This Jam
These are some questions I frequently hear about this recipe. If you have a question that isn't answered below, feel free to leave it in the comments!
This is by far the trickiest part of making jam! When I first started making jam, I overcooked it time and time again. Now, I can usually tell that the jam is ready once it starts to stick to the bottom of the saucepan. Also, keep in mind that the jam will continue to thicken up once you take it off the heat.
You can also try putting a spoon or lid in the freezer, then dropping some of the jam on it. Run your finger or another utensil through the jam, and if the jam wrinkles, it’s usually ready (this video shows what that looks like).
Absolutely! I usually like to use frozen fruit when making this recipe. If you are using frozen fruit, you can simply follow the recipe as written — it just might take a bit longer for the cherries and berries to break down.
Stored in an airtight container in the fridge, this jam will usually last up to 1 month. This time will vary, so keep an eye on it! You should toss the jam if you start seeing any mold growing on the top.
How to Store & Freeze
To store: You can store this jam in an airtight container in the fridge for up to 1 month.
To freeze: Let the jam cool completely at room temperature, then transfer to a jar or freezer-safe container. Be sure to leave at least ¾-inch free space at the top of the jar to allow for expansion in the freezer. Then, you can store the jam in the freezer for up to 6 months.
Love this recipe? Please leave a star rating and review in the comments below! And don't forget to subscribe to The Baker's Almanac for even more baking recipes and tips.
Print
Cherry Berry Jam
- Total Time: 25 minutes
- Yield: 12 servings 1x
Description
This cherry berry jam is packed full of flavor, and it's so easy to make! You can use fresh or frozen fruit to make it, and it comes together in no time.
Ingredients
- 2 ⅓ cups fresh or frozen cherries & mixed berries (see note below)
- ⅔ cup (132g) granulated sugar
- 1 teaspoon lemon juice
- Pinch of kosher salt
Instructions
- In a medium saucepan, add the cherries, mixed berries, granulated sugar, lemon juice, and kosher salt, and stir to combine. Heat mixture over high heat, stirring constantly with a heatproof spatula. Once the mixture starts to bubble up, reduce the heat down to medium-low. If you'd like the mixture to be a bit smoother, you can also mash it with a potato masher until you reach the desired consistency.
- Cook the mixture for 10-15 minutes, stirring constantly, until the jam is thick and viscous. To test if the jam is ready, I usually like to run my spatula along the bottom of the saucepan in a straight line. If it takes more than a second for the line to fill back up, the jam is usually ready. I like to err on the side of caution and take the jam off almost too early — if it doesn't set enough, you can always return it back to the heat.
- Once ready, remove the jam from the heat and transfer it to a heatproof container. Let the jam cool completely at room temperature, then transfer it to the fridge.
- Stored properly in an airtight container, this jam will usually last for up to 1 month in the fridge and up to 6 months in the freezer.
Equipment
 Buy Now →
 Notes
- Cherries and Berries: I used this Cherries and Berries Frozen Blend from Target to make this recipe, and it has a great mix of cherries, blueberries, and sliced strawberries. However, feel free to use any blend of cherries and berries that you'd like! Just be sure to pit the cherries and slice the strawberries as needed before cooking the jam.
- Cooking Time: Be careful not to overcook the jam or it will set too hard! Remember that jam will continue to cook once you take it off the heat, so you just want to remove it once it starts to thicken and stick to the bottom of the pan.
- Yield: Personally, I like to make jam in smaller amounts so that it doesn't go bad in the fridge. You can even cut this recipe in half if you want a smaller amount! I also don't recommend doubling or tripling this recipe as it will be more likely to burn when cooking.
- Prep Time: 10 minutes
- Cook Time: 15 minutes
- Category: Jam
- Method: Sauté
- Cuisine: American








Hi Leslie,
Thanks for sharing what looks like a delicious recipe! Is it possible to "can" this recipe using the hot water method?
Thank you!
Hi Shirley,
You should be able to do that with this recipe! That said, I haven't tried it myself, so you'll have to let me know how it goes. 😊