

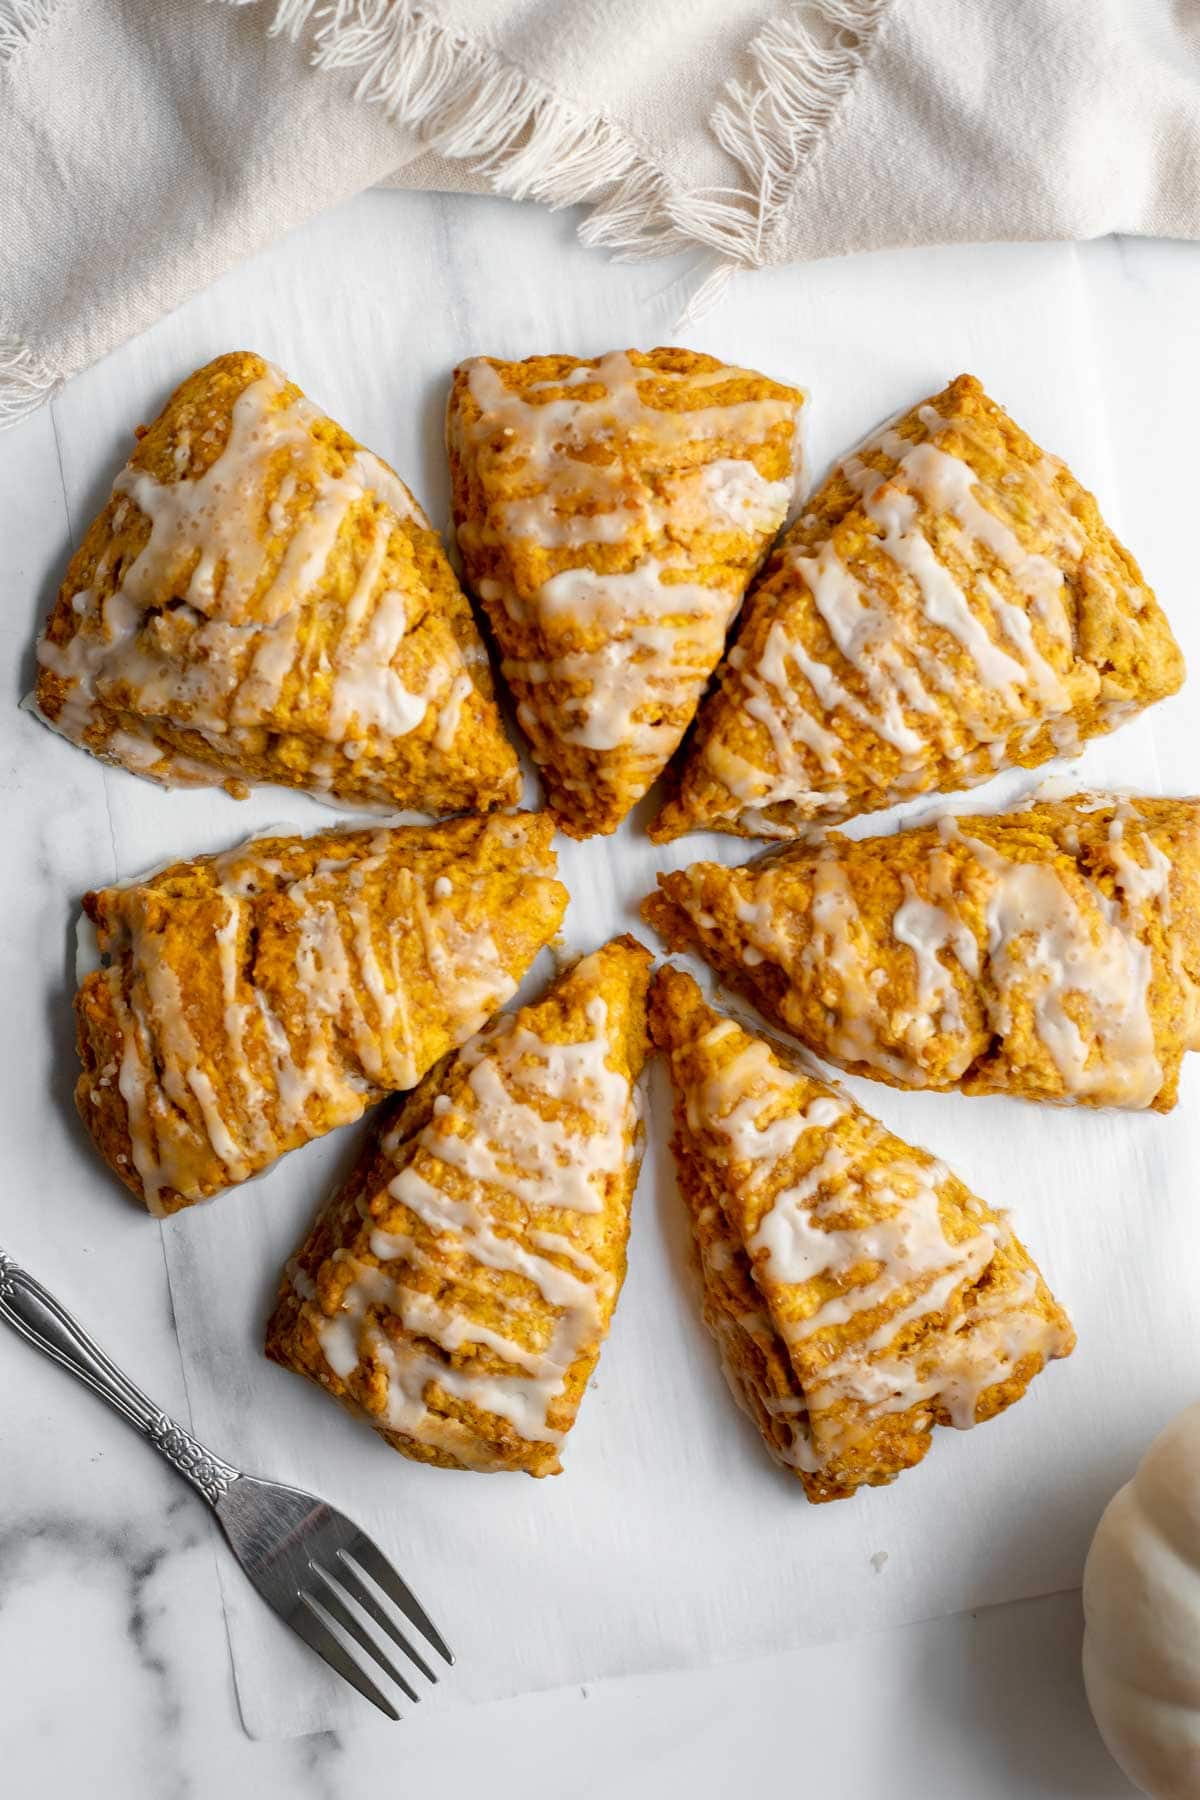
Crumbly and light, these pumpkin scones are a perfect breakfast or snack for the fall season! Freeze them before baking to get those incredibly moist and flaky layers.

Today, we are combining pumpkin with one of my all-time favorite loves: scones.
Without a doubt, scones are one of my favorite breakfast pastries. I think it's because they have such a unique texture and taste — crumbly yet soft, they're delicious but not overly sweet. They're even better when paired with a steaming cup of coffee or tea!
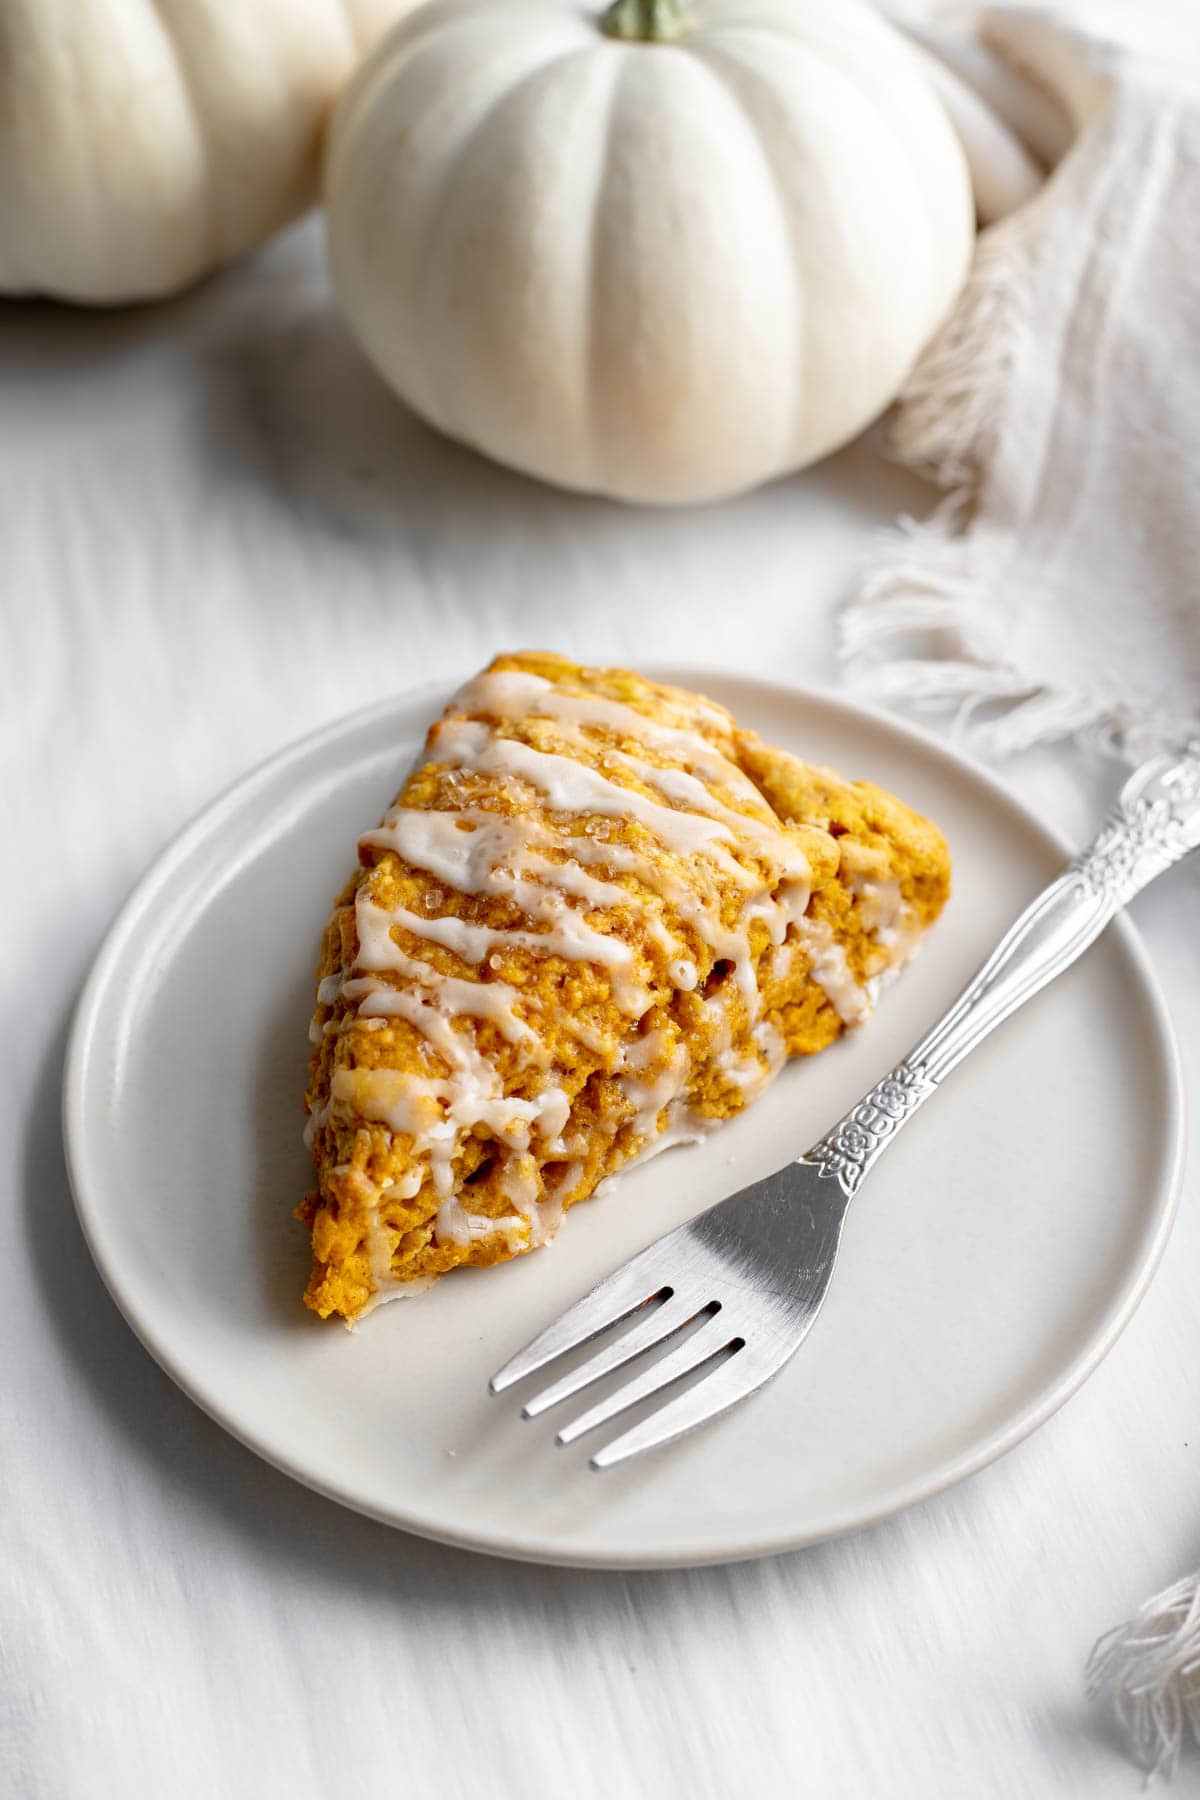
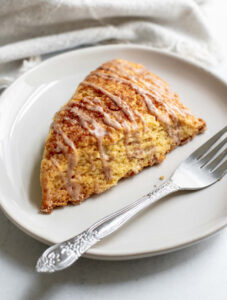
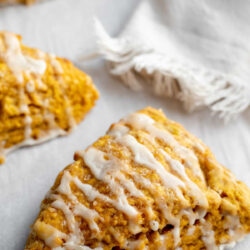
And believe me when I say that these pumpkin scones are the epitome of fall. Packed full of that delicious pumpkin flavor and topped with a maple glaze, they practically exude coziness.
Let me show you how to make them!
Jump to:
What You'll Need
Here's a quick overview of some of the key ingredients and tools needed to make these scones. The full recipe can be found at the bottom of the post.
Ingredients
- Pumpkin pie spice - This recipe calls for pumpkin pie spice, but if you don't have it, no worries! You can substitute the following for 1 teaspoon of pumpkin pie spice: ½ teaspoon ground cinnamon, ¼ teaspoon ground ginger, ⅛ teaspoon ground nutmeg, and ⅛ teaspoon ground allspice. If substituting, you'll want to add that in addition to the 1 teaspoon of cinnamon that the recipe already calls for.
- Unsalted butter - I always recommend baking with unsalted butter instead of salted. That way, you have more control over the total amount of salt in the recipe. And when making scones, you want your butter to be as cold as possible, so keep it in the fridge or freezer right until you need to add it to the recipe.
- Pumpkin puree - I like to buy canned pumpkin puree from the grocery store, but you could always make your own pumpkin puree from scratch if preferred.
- Heavy cream - For this recipe, we'll use heavy cream in two places: to make the dough and to brush on top of the scones before baking.
- Turbinado sugar - Before baking the scones, we'll sprinkle turbinado sugar (raw sugar) on top of the scones to give them a delicious crunch.
Equipment
- Pastry cutter - If you don't have a handheld pastry cutter, I'd definitely recommend picking one up for this recipe. You can use it to easily cut the butter into the dry ingredients. If you don't have one, you can also use a fork to do this, but it just might take a bit longer.
- Bench scraper - I like to use a bench scraper to cut the scones into wedges before baking. You can also use a knife, but I prefer using a bench scraper to avoid damaging my baking sheet.
How to Make These Scones
Now that we've chatted through what you need to make this recipe, let's walk through how to make these scones from start to finish.

Start by mixing together all the dry ingredients and butter. In a large bowl, whisk together the all-purpose flour, light brown sugar, baking powder, ground cinnamon, pumpkin pie spice, and salt. Then, use a pastry cutter or a fork to cut in the butter until the butter is about lentil-sized. You still want there to be visible chunks of butter. (Image 1 and Image 2)
In a separate bowl, mix together the liquid ingredients. In a separate bowl, whisk together the pumpkin puree, egg, vanilla extract, and 3 tablespoons of heavy cream. (Image 3)
Combine everything together. Then, add the liquids to the flour and butter mixture and mix until just combined. (Image 4)
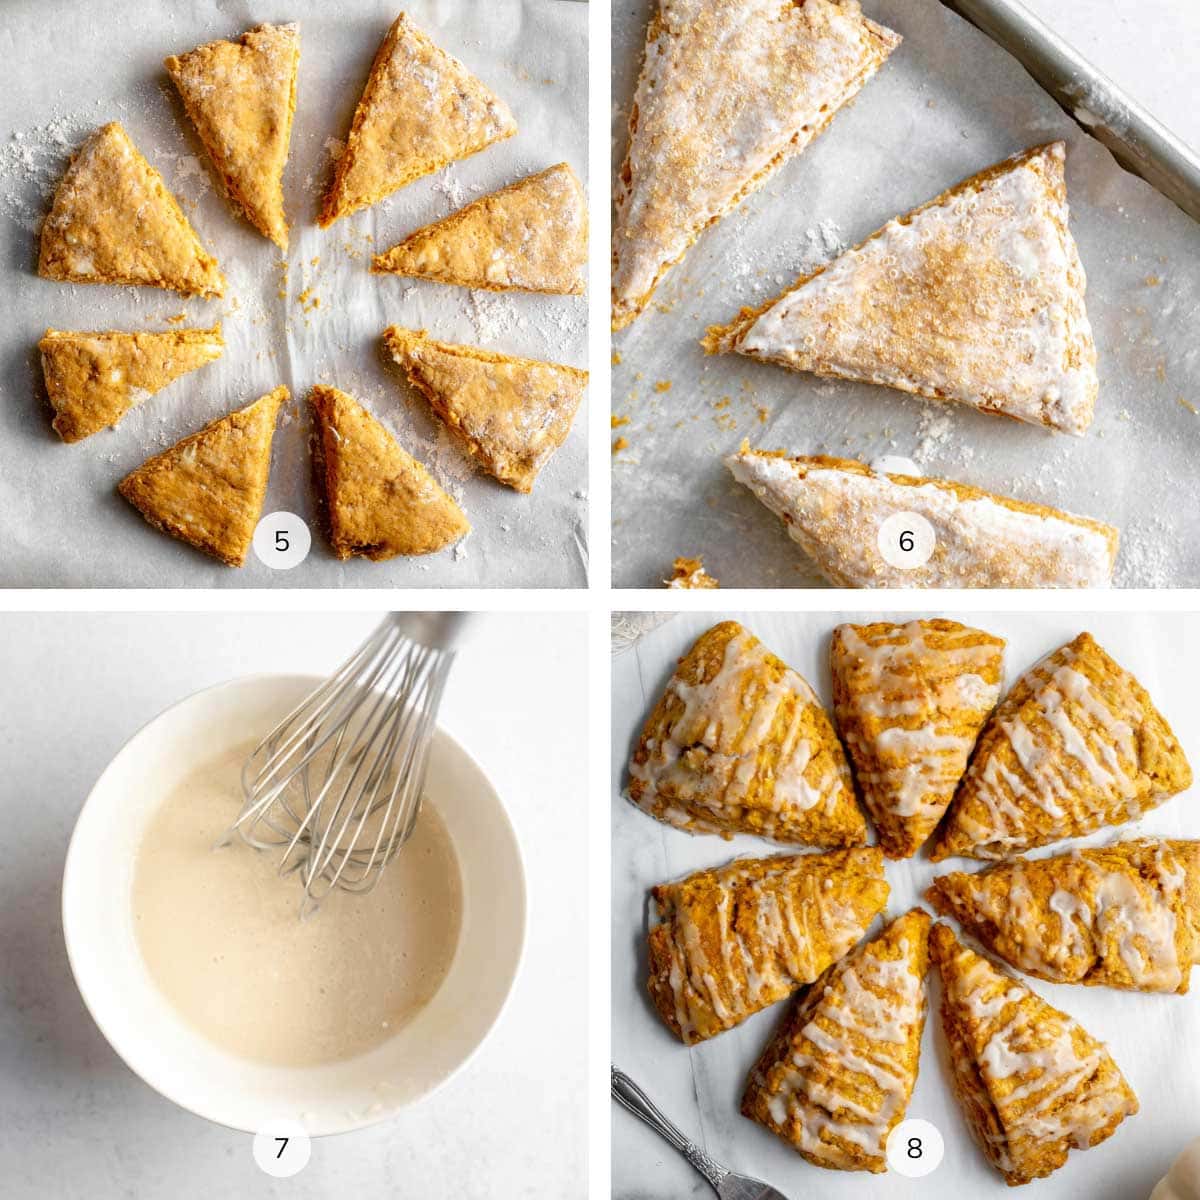
Shape the scones. Transfer the dough to a parchment paper-lined sheet tray and pat into a circle. If the dough is sticky, sprinkle a bit of flour on the dough. Continue patting the dough until you have an 8-inch disk, then use a bench scraper or knife to cut the circle into 8 wedges. Pull the wedges out a bit to leave space in between each scone. Then, freeze the scones for at least 30 minutes before baking. (Image 5)
Prepare the scones for baking. After 30 minutes, remove the scones from the freezer, then brush the tops with a little bit of heavy cream and sprinkle a little turbinado sugar on top if desired. Bake the scones at 400°F for 25-28 minutes, or until they’re golden brown and a toothpick inserted in the middle of one comes out clean. (Image 6)
Make the maple glaze. While the scones are baking, whisk together powdered sugar, maple syrup, milk, and pinch of salt to make the maple glaze. Feel free to leave the glaze in the fridge until the scones have come out of the oven. (Image 7)
Glaze the scones and serve. After removing the scones from the oven, let them cool for 5-10 minutes, then drizzle the maple glaze on top and serve. (Image 8)
Tips to Perfect This Recipe
Are you new to making scones? Here are some of my best tips for making them!
- Keep your butter as cold as possible. When you cut cold butter into your scone mixture, it stays solid until it goes into the oven. Once the scones start to bake, the butter melts and creates those delicious flaky layers that scones are known for. That's why I recommend keeping your butter in the fridge (or even the freezer) right up to the moment that you need to use it when making this recipe.
- Don't overmix your dough. Overmixing your dough leads to tough and chewy scones, which nobody wants! After adding in your liquid ingredients, make sure to only mix until just combined.
- Chill your scones in the freezer before baking. Chilling the scones in the freezer for at least 30 minutes before baking lets them firm up and helps the gluten relax. This also helps keep the butter cold, which enhances those beautiful layers.
- Drizzle the glaze on the scones while they're still a bit hot. Don't drizzle the glaze immediately after the scones come out of the oven, but don't wait too long either. If the scones are still a bit warm, they will soak up the glaze and taste even more delicious. I usually like to let the scones cool for 5-10 minutes before glazing.
Common Questions About This Recipe
These are some questions I frequently hear about these scones. If you have a question that isn't answered below, feel free to leave it in the comments.
While you can cut the butter into the dry ingredients with a mixer, I personally recommend using a pastry cutter. If you don’t have one on hand, you can use a fork instead, but it will take a bit longer. Simply press the pastry cutter into the butter chunks, cut the butter, and wipe the cutter every so often.
Yes! When making scones, it’s essential to keep the butter as cold as possible. Cold butter stays solid until it hits the heat of the oven. Then, it melts in the oven, creating flaky layers and helping the scones rise.
Once you transfer the scones to the sheet pan lined with parchment paper, you want to create an 8-inch disk by patting the dough down. If you find that the dough is too crumbly at this point, you can brush on a bit more heavy cream. Alternatively, if you find the dough is too wet, you can sprinkle on a bit of flour.
Chilling the scones helps them firm up and rise more in the oven. If it's hot in your kitchen, the scones can get a bit too soft, so chilling them in the freezer for a bit will help them maintain their shape when baking.
How to Store & Freeze
To store: Cover and store these scones in an airtight container at room temperature for up to 2-3 days.
To freeze: Let the scones cool completely at room temperature, then place them in a freezer-proof container or bag and freeze for up to 2 months. I'd recommend freezing them unglazed and adding the glaze after thawing them.
Love this recipe? Please leave a star rating and review in the comments below! And don't forget to subscribe to The Baker's Almanac for even more baking recipes and tips.
Print
Pumpkin Scones
- Total Time: 1 hour 5 minutes
- Yield: 8 scones 1x
Description
Crumbly and light, these pumpkin scones are a perfect breakfast or snack for the fall season! Freeze them before baking to get those incredibly moist and flaky layers.
Ingredients
Pumpkin Scones:
- 2 cups (240g) all-purpose flour + extra for dusting
- ⅓ cup (71g) light brown sugar, packed
- 2 teaspoons baking powder
- 1 teaspoon ground cinnamon
- 1 teaspoon pumpkin pie spice
- ½ teaspoon salt
- ½ cup (113g) cold unsalted butter, cubed
- ½ cup (114g) pumpkin puree (canned or fresh)
- 1 large egg (50g)
- 1 ½ teaspoons vanilla extract
- 3 tablespoons heavy cream + extra for brushing
- Optional: turbinado sugar for sprinkling on top of the scones
Maple Glaze:
- 1 cup (114g) powdered sugar
- 1 tablespoon maple syrup
- 1 ½ tablespoons milk
- Pinch of salt
Instructions
- Line a sheet tray with parchment paper and set aside.
- Make the scones: In a large bowl, whisk together the all-purpose flour, light brown sugar, baking powder, ground cinnamon, pumpkin pie spice, and salt. Then, use a pastry cutter or a fork to cut in the butter until the butter is about lentil-sized. You still want there to be visible chunks of butter. In a separate bowl, whisk together the pumpkin puree, egg, vanilla extract, and 3 tablespoons heavy cream. Add the liquid mixture to the flour mixture and mix until just combined.
- Transfer the dough to the parchment paper-lined sheet tray and pat into a circle. If the dough is sticky, sprinkle a bit of flour on the dough until it doesn't stick to your hands. Continue patting the dough until you have an 8-inch disk. Then, use a bench scraper or knife to cut the circle into 8 wedges. Pull the wedges out a bit to leave space in between each scone.
- Freeze the scones for at least 30 minutes (this lets the gluten relax and helps the scones firm up before baking). While the scones are freezing, preheat the oven to 400°F.
- After 30 minutes, remove the scones from the freezer, then brush the tops with a little bit of heavy cream and lightly sprinkle with turbinado sugar.
- Bake the scones in the preheated oven for 25-28 minutes, or until they’re golden brown and a toothpick inserted in the middle of one comes out clean.
- Make the maple glaze: While the scones are baking, whisk together the powdered sugar, maple syrup, milk, and salt until smooth. Feel free to leave the glaze in the fridge until the scones have come out of the oven.
- Glaze the scones and serve: After the scones have finished baking, let them cool for 5-10 minutes, then drizzle the glaze over top and serve.
- Stored tightly in an airtight container, these scones will stay fresh at room temperature for up to 2-3 days or up to 2 months in the freezer.


Notes
- Pumpkin Pie Spice: If you don’t have pumpkin pie spice on hand, you can substitute the following for 1 teaspoon of pumpkin pie spice: ½ teaspoon ground cinnamon, ¼ teaspoon ground ginger, ⅛ teaspoon ground nutmeg, and ⅛ teaspoon ground allspice.
- Butter: When making scones, you want your butter to be as cold as possible. After cubing the butter, I recommend keeping it in the fridge or freezer until you need to add it to the recipe.
- Turbinado Sugar: I like to sprinkle a bit of turbinado sugar on top of scones before baking them. This helps them brown on top and gives them a delicious crunch. However, if you don't have any turbinado sugar on hand, you can leave it out of the recipe.
- Prep Time: 10 minutes
- Freeze Time: 30 minutes
- Cook Time: 25 minutes
- Category: Breakfast
- Method: Bake
- Cuisine: British
These were great! Moist yet biscuit like. I used whole milk instead of cream bc that’s what I had and still came out great. I didn’t put the maple drizzle on the top bc don’t want the extra sugar. The sugar topping itself was enough.
I'm so glad you enjoyed the recipe, Christine!