

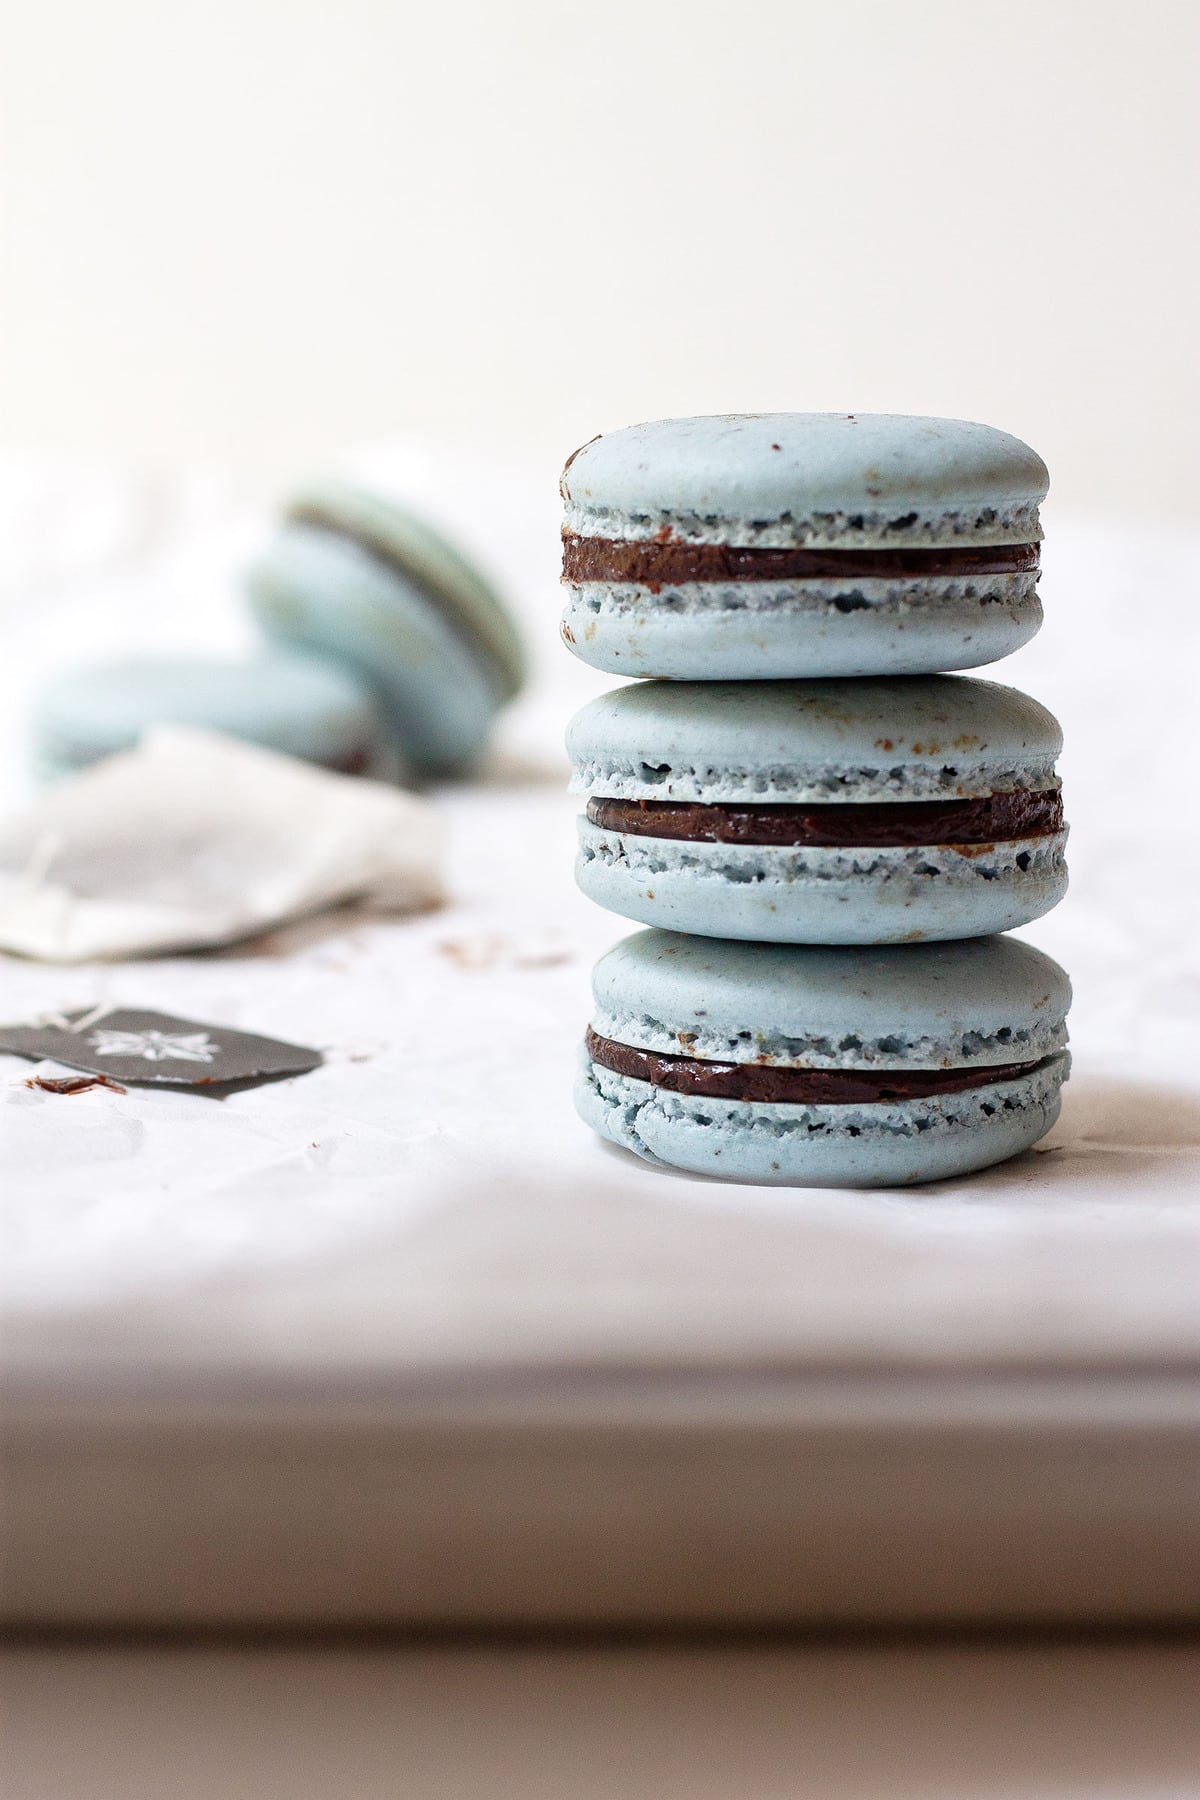
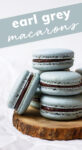
These Earl Grey macarons are to die for! Almond meringue cookie sandwiches filled with Earl Grey tea leaves and an Earl Grey ganache–what more could you want?

Oh, macarons—we go way back.
Many years ago, when I first really started to get into baking, I tried to make my first macarons. I spent hours working on them, and I felt really frustrated when they turned out mediocre.
A few years after that, I learned how to make macarons in pastry school. I remember eagerly watching our instructor make them, taking as many notes as possible. Even then, I messed up my macarons during one of our exams, and I felt crushed.
But now, I feel like I have finally figured out the perfect macaron recipe, and I'm so excited to share it with you. These Earl Grey macarons are light and delicious, and they turned out even better than I could have imagined.
Even more, I want to share all my tips and tricks so you can make perfect macarons in your own kitchen. Without further ado, let's make some macarons!
Jump to:
Tips for Making These Macarons
Here are a few tips to get a perfect Earl Grey macarons every time:
- Make sure to sift your dry ingredients. This is the one step in the recipe you don't want to skip! Sifting the almond flour, powdered sugar, and Earl Grey tea leaves helps prevent lumps that might flatten the macarons.
- Whisk the egg whites until you have a meringue with stiff peaks. At this point, you should be able to turn the whisk upside down without the meringue budging an inch. If you're not quite there, continue to whisk until stiff peaks form.
- Tap the baking sheet after piping the macarons. After I pipe all my macarons, I like to tap the baking sheet firmly against the counter several times. Doing so helps the mixture settle and removes any air bubbles.
- Let the macarons cool completely before filling. If you try to remove the macarons while they are still warm, they will stick to the baking sheet and crumble. Be patient and let them cool completely before filling.
Helpful Tools for Making These Macarons
To make these macarons, there are a few tools I recommend picking up:
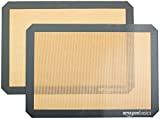
- Silicone baking mat — I always find that my macarons turn out best when I use a silicone baking mat rather than parchment paper. Personally, I also just prefer to use silicone baking mats like this when baking other items like cookies or granola, so it's great to have one on hand.
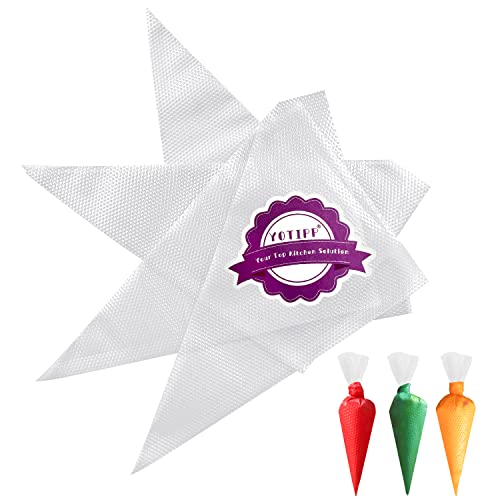
- Disposable piping bags — These are pretty essential for this recipe, both for piping the macarons and also filling them with the ganache. If you can't pick some up, you can also try making a makeshift piping bag with a Ziploc bag.
- Round piping tips — For this recipe, I used a round piping tip both for the macarons and the ganache. Plus, piping tips like this are great to have on hand for cakes and cupcakes.
Common Questions About These Macarons
I've been making macarons for years, and I still struggle with consistency! If it's your first time making macarons, I highly recommend printing out a template like this and putting it under your silicone baking mat. Then, remove the template before baking and keep it for the next time you make macarons.
The amount of time varies depending on the humidity and your environment. After piping the macarons, you need to dry them out until the top forms a skin, and I have found that this can take anywhere from fifteen minutes to an hour. To see if the macarons are ready, press your finger lightly on top of one—if it does not leave a firm fingerprint, they are ready to bake in the oven.
Stored in an airtight container, these macarons will stay fresh in the fridge for about 3-5 days. I recommend removing them from the fridge 15-20 minutes before eating for the best taste. Alternatively, you can also freeze macarons for up to 2 months.
Love this recipe? Please leave a star rating and review in the comments below! And don't forget to subscribe to The Baker's Almanac for even more baking recipes and tips.
Print
Earl Grey Macarons
- Total Time: 55 minutes
- Yield: 25-30 macarons 1x
Description
These Earl Grey macarons are to die for! Almond meringue cookie sandwiches filled with Earl Grey tea leaves and an Earl Grey ganache–what more could you want?
Ingredients
Earl Grey Macarons:
- 2 cups (220g) powdered sugar
- 1 ⅔ cups (160g) almond flour
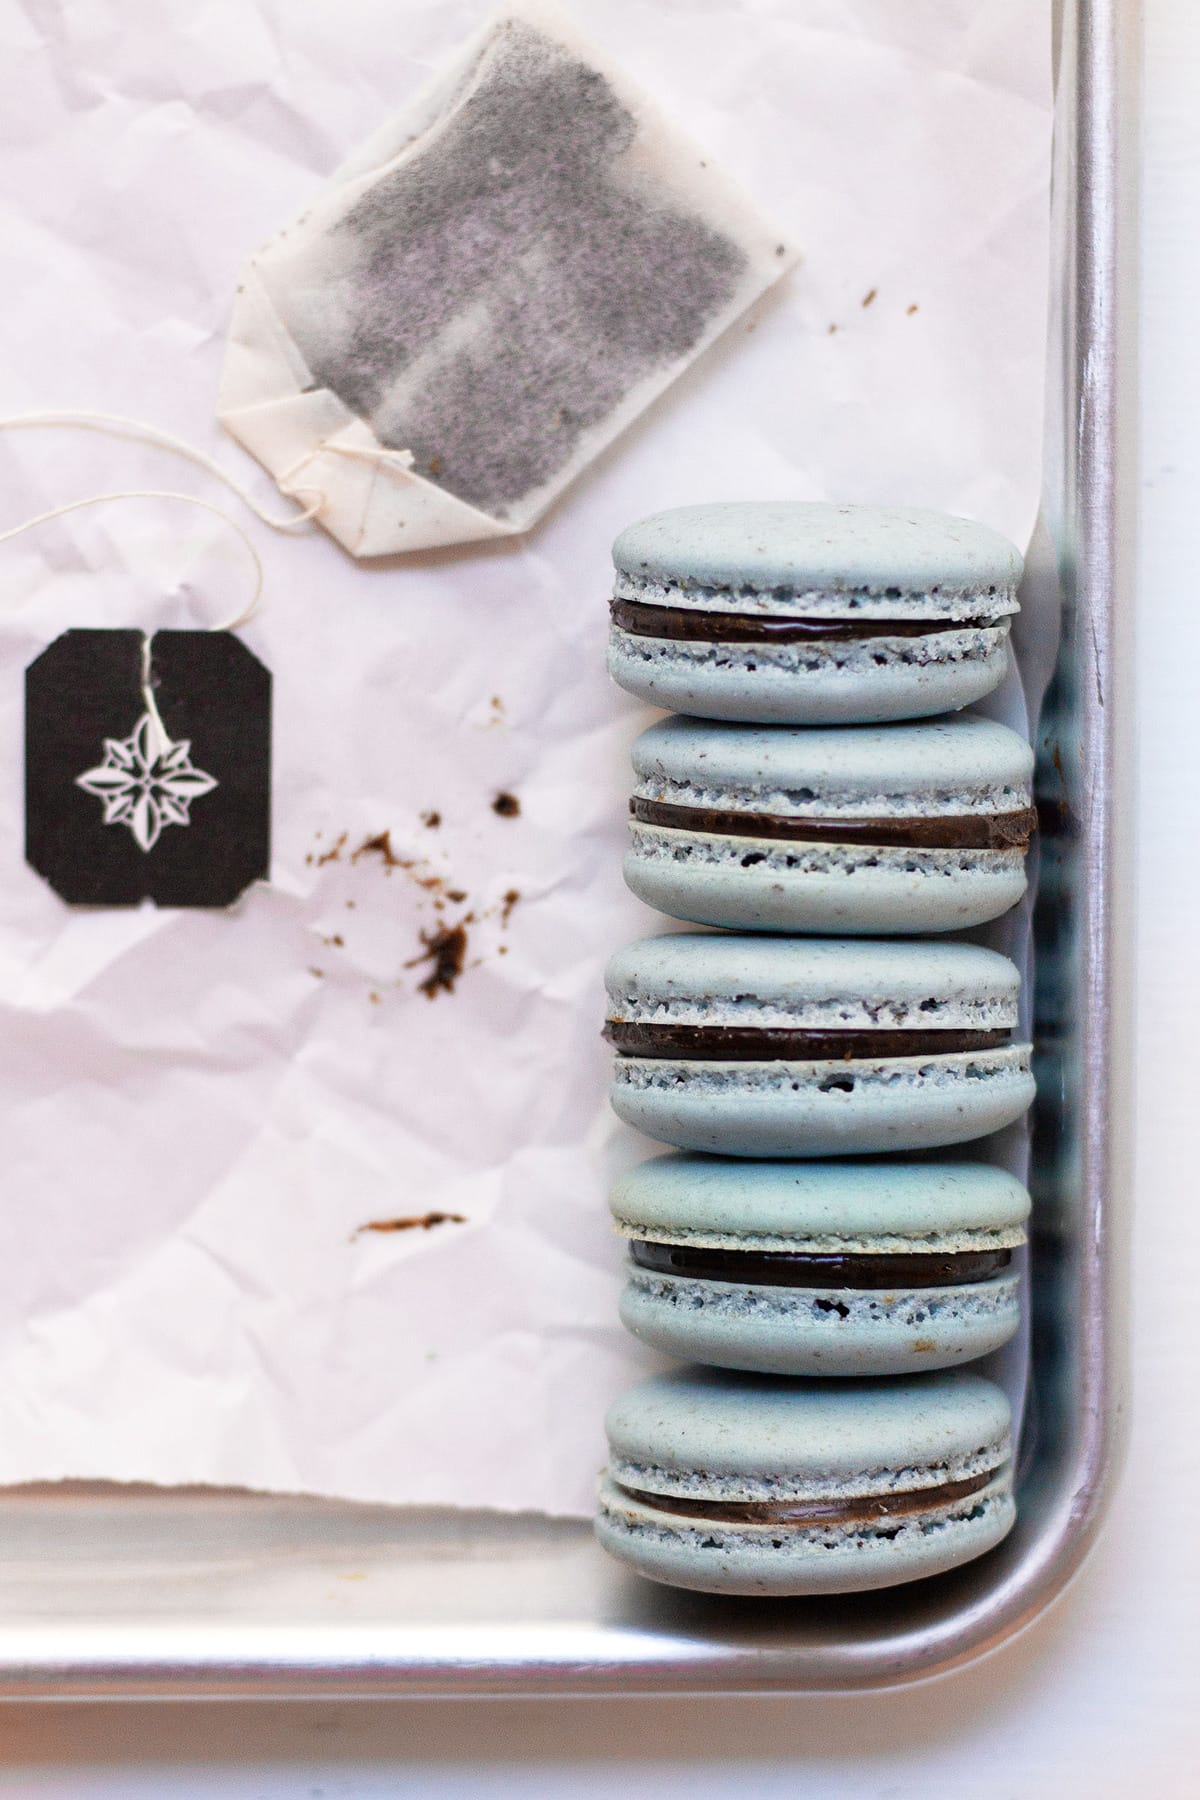
- Leaves from 2 Earl Grey tea bags (4g)
- 5 egg whites (150g)
- ¾ cup (150g) granulated sugar
- 1-2 drops blue food coloring
Earl Grey Ganache:
- ½ cup (115g) heavy cream
- Leaves from 2 Earl Grey tea bags (4g)
- 1 cup (200g) chocolate chips
- Pinch of salt
Instructions
- Preheat the oven to 300°F. Line two baking sheets with silicone baking mats or parchment paper (I always get better results with a silicone baking mat).
- Sift together the powdered sugar, almond flour, and Earl Grey leaves, then set aside.
- Make the French meringue: In a stand mixer fitted with a whisk attachment (or a large bowl with a handheld mixer), whisk the egg whites. When they are quite foamy and no longer yellow, start gradually streaming in the granulated sugar. Whip the egg whites until stiff peaks form.
- Add the dry ingredients into the meringue in two additions, and gently fold until well combined. Then, add in the blue food coloring and start the macaronage process. Continue to stir the mixture, and you will notice it start to become looser and more ribbony. To see if your batter is ready, do the figure-eight test: if you can make an '8' with the batter without it breaking, it is ready to pipe.
- Pipe the macarons: Transfer the batter to a pastry bag fitted with a round tip. Pipe small circles onto the prepared baking sheet, leaving two inches in between each macaron. Once you have piped all the macarons, tap the baking sheet against the counter several times to remove any air bubbles.
- Let the macarons dry at room temperature for fifteen minutes to an hour (the amount of time varies depending on humidity). Once you can touch the top of a macaron without leaving a fingerprint, they are ready to go in the oven.
- Bake the macarons in the preheated oven for 16 minutes, rotating once halfway through. Then, remove them from the oven and let cool completely on the baking sheet.
- Make the Earl Grey ganache: While the macarons are cooling, bring the heavy cream and Earl Grey tea leaves to a boil over medium heat. Once boiling, pour this mixture over a bowl with the chocolate chips. Let the mixture sit for a minute, then whisk until homogenous. Add a pinch of salt to taste, then set the mixture aside to firm up.
- Assemble the macarons: Transfer the ganache to a pastry bag fitted with a round tip. Once the macarons have cooled completely, pipe the ganache onto one macaron, then sandwich another macaron on top. Repeat the process for all the macarons, then serve.

Notes
- For this recipe, I used milk chocolate chips, but you could use semisweet or dark if you prefer.
- To achieve the color on these macarons, I mixed 1 drop of blue food coloring with 1 drop of black food coloring.
- Stored in an airtight container, these macarons will stay fresh in the fridge for about 3-5 days. Alternatively, you can also freeze macarons for up to 2 months.
- Prep Time: 40 minutes
- Cook Time: 15 minutes
- Category: Dessert
- Method: Bake
- Cuisine: French

I tried to make this recipe twice. I was wondering if it's easier using the Italian technique. Mine didn't turn out. Is it ok to open the oven door to rotate the pan. Will they drop? I really love these but I have a hard time making them without them becoming hollow. Please help.
I'm sorry you're having trouble with this recipe, Mila! I do always rotate my pans halfway through when baking macarons, and I haven't had any issues with them dropping. When it comes to macarons, it's important to make sure you really understand the macaronage process and know when to stop mixing the batter. This video walks you through that process if you're not familiar with it. Then, it's also really important to let your macarons dry out before baking. This allows the outer surface to harden up so that when it is baked, the air in the batter will escape from the bottom edge, which creates feet.
I hope that helps! Do you think either of those might have played a factor when attempting this recipe?
Fantastic recipe! I’ve never eaten a macaron much less made them! This recipe made it easy and I’m not intimidated by them anymore! They turned out great as far as I’m concerned! Although I’m not sure they were what they’re supposed to be like…but these turned out crunchy on the outside and chewy in the middle. I’m really excited to play with different flavors now!
This makes me so happy, Brit! I'm so glad you enjoyed the recipe and that you tried making macarons for the first time. They're just so fun to make and even more fun to eat. Let me know if there are any other macaron flavors you'd like to see on the blog in the future. 🙂
For the ganache. Do you leave the tea leaves in the mixture, whole? Or do you sift them out? Do you grind them first? Thanks in advance!!
Thé macarons always came out perfect. Thank you for The recipe.
I'm so glad you've been enjoying the recipe, Sheri! 😊
thank you for the recipe! 🙂 Which piping tip do you suggest for a medium sized macaron?
Good question! I'd probably recommend using a tip that's about 0.5 inches in diameter. I like using the Ateco 806 tip myself. 😊
They turned out amazing 🙂 thanks for the tips!
I'm glad you enjoyed the recipe, Rose!